Roast Mallard
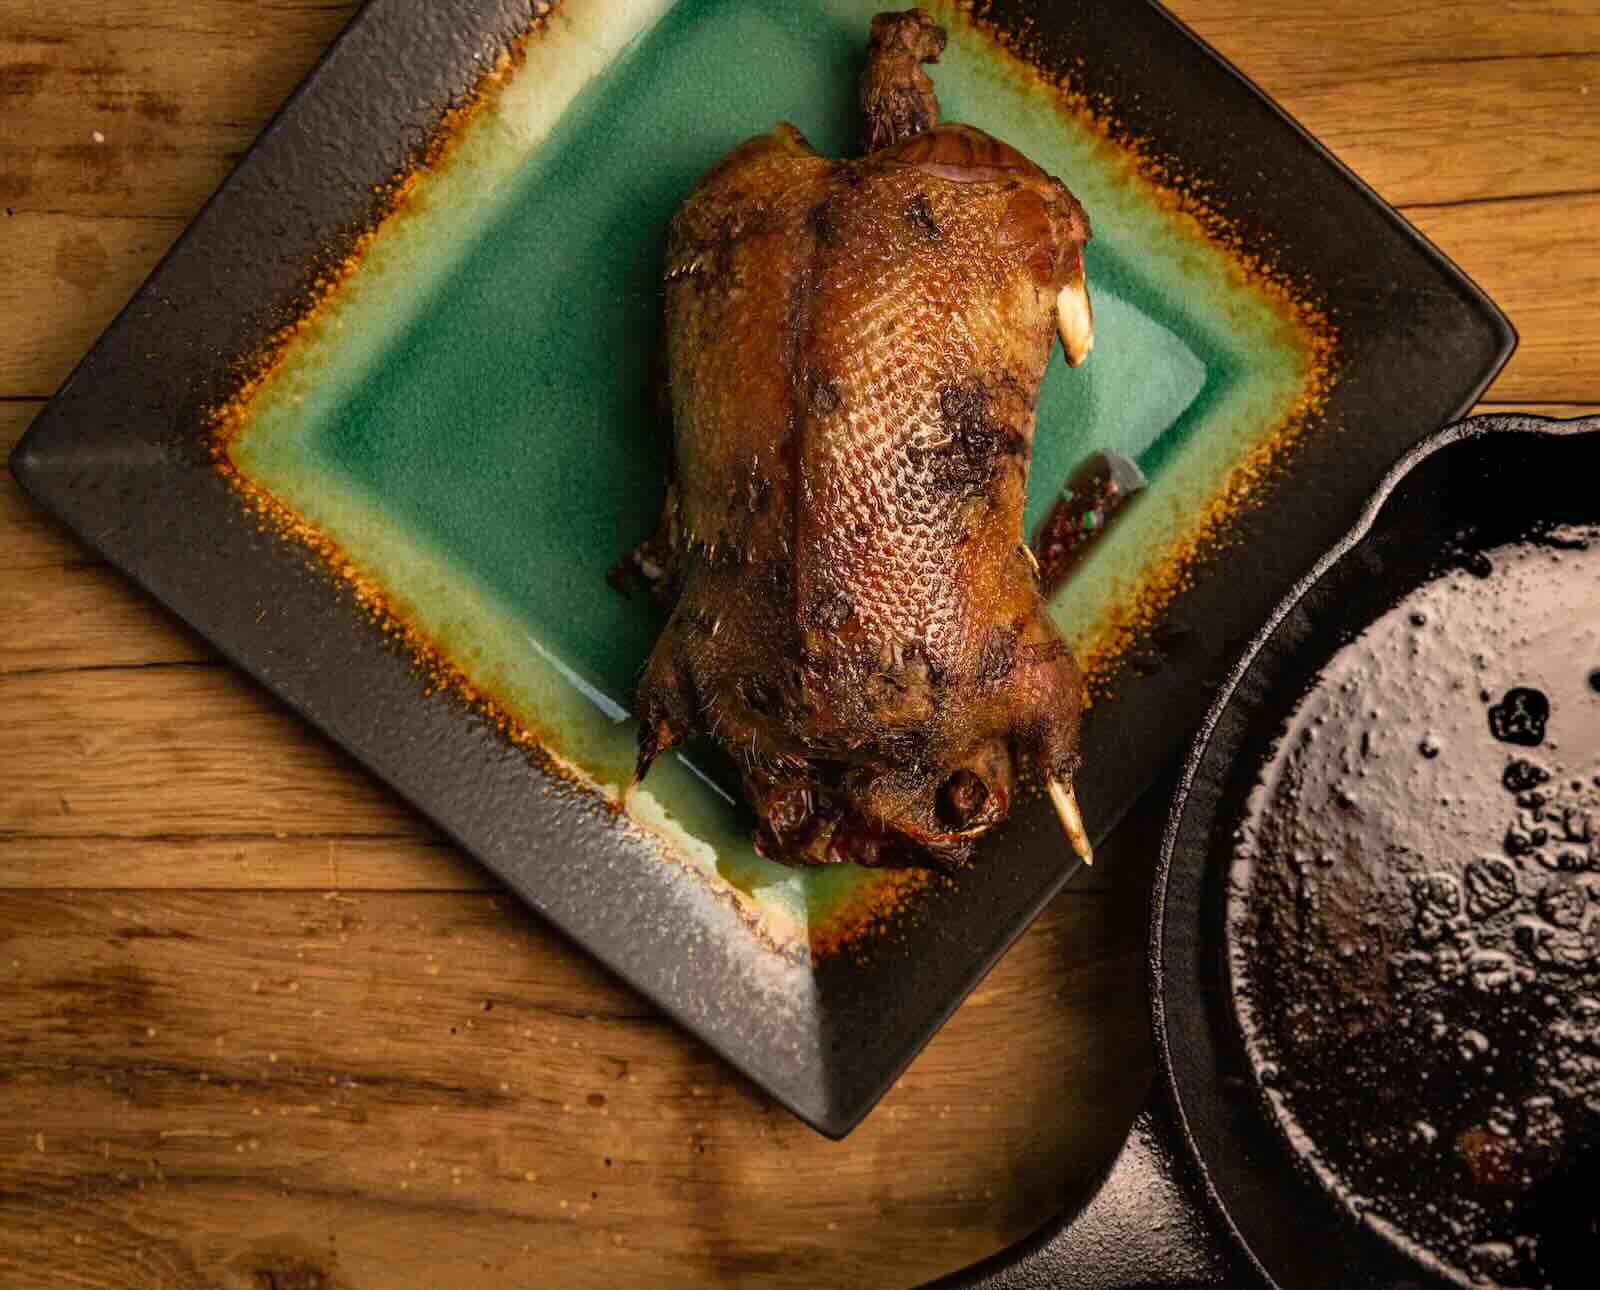
How to perfectly pluck, brine, and roast wild mallard ducks
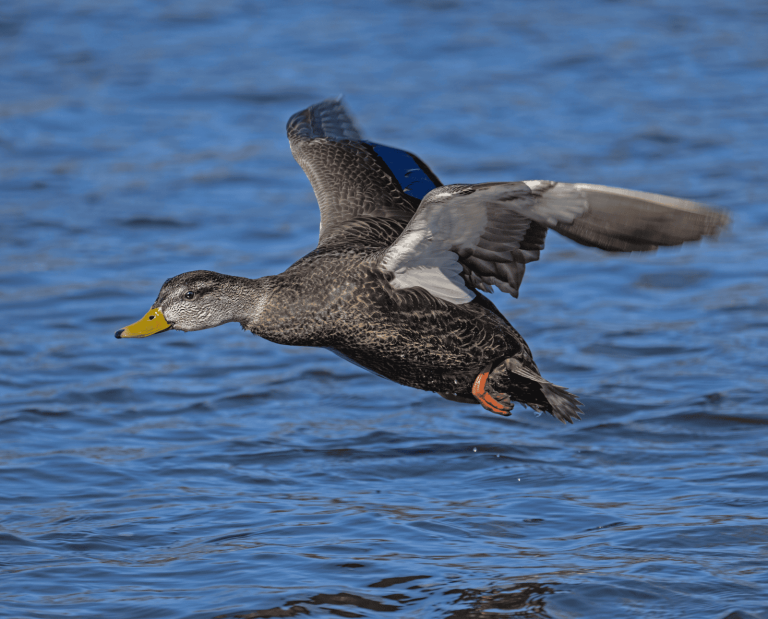
The mallard, or Anas platyrhynchos, is the most common duck not only in the United States, but in the entire Northern Hemisphere. It’s also my personal opinion that it ranks as one of the top ducks in terms of flavor. However, that could simply be first-impression bias, as mallards were the first wild ducks I targeted in eastern Washington over a decade ago.
A wild mallard is the largest wild waterfowl one would ever want to roast whole. Larger birds, like Canada geese, require butchering (thankfully, butchering waterfowl is very similar to butchering upland birds). The breasts, thighs, legs, and wings must be separated because they are all best cooked in different ways. Breasts are best served medium rare. Every other cut benefits from low-and-slow cooking methods to break down collagen and tenderize meat.
Even when roasting a wild mallard whole, you may find it necessary to pull the whole bird from the oven, remove the breasts, and return thighs, legs, and wings to the heat. You can even use a skillet with liquids and braise those collagen-filled cuts further. The closer those cuts get to 190 to 200 F, the more tender the meat will be.
What Does Wild Mallard Taste Like?
Mallard ducks taste rich and savory with a hint of the wild in them. Mallards, when compared to every other duck species, have a flavor very similar to that of domestic ducks served at restaurants. At least, that’s my opinion.
Pluck Your Wild Ducks
Waterfowl skin—especially that of fat, late season mallards—is the bacon of winged critters. Bird skin locks in moisture and only becomes more succulent with cooking. When it comes to waterfowl, their delicious fat renders and is nothing short of liquid gold. Few wild dishes compare to a plucked, skin-on duck breast cooked in its own fat to 130 F (and hardly a degree further.)
Achieving this culinary delight starts with careful preparation, and knowing how to pluck a mallard properly is the first step. For more information on plucking birds, check out our article here.
Once your mallard is plucked, brining it in saltwater is the next step prior to roasting it.
Brine Mallards Before Roasting Them
If you’ve ever tasted scuzzy wild duck, it’s likely that the bird was not brined properly. A saltwater brine solution draws out residual blood. In general, duck blood is not very good tasting. It tends to take after the mallard’s habitat—mucky water. Roasted mallard can end up tasting like a wetland if its blood is not properly removed. Unless you are certain that your wild mallard lived in pristine waters and isn’t shot up whatsoever, you should brine that mallard.
If you plan to freeze your mallard before cooking, before sticking it in the freezer, brine your duck in 1 gallon of cold water and ½ cup of kosher salt for 3-6 hours. After removing the duck from the brine, thoroughly rinse it off. Remember that a bloody frozen duck will marinate in its own blood while it thaws.
Even if you brined your duck before freezing, it doesn’t hurt to brine it again according to these steps. The final brine will assist with removing blood and also adding flavor. The second brine helps the meat retain moisture while cooking, too.
Roasting A Whole Wild Mallard
When roasting a wild duck whole, we want both crispy skin but also properly cooked breasts, wings, and legs. As discussed earlier, duck breasts are best served medium rare. Don’t cook them much past 130 F. Keep in mind, too, that the legs and wings need to reach 190 F in order to tenderize.
This sounds tricky to do, right? However, I have found a way to keep the breasts cool and the legs and wings hot: frozen fruit.
One technique I have incorporated into my roast duck recipes is using strategically cut navel oranges as ice cubes in the oven. Orange is a classic flavor pairing with wild duck, and the frozen slices help keep the breasts cool while the legs and wings climb towards 190 degrees, protecting the breast meat from overcooking.
I first test-drove this technique in my roasted gadwall recipe.
Roasting Whole Wild Ducks Is An Art
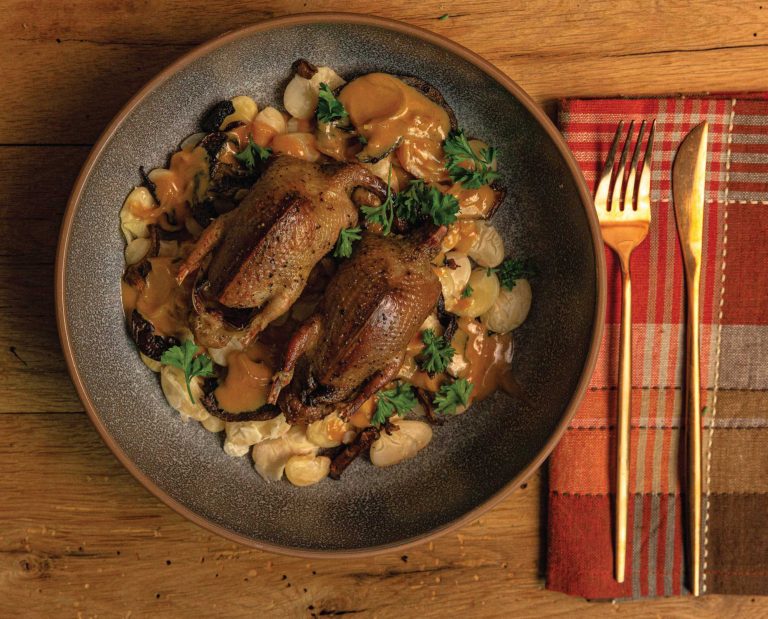
Preparing and roasting a wild mallard is a true celebration of the bird’s natural flavor. From plucking and brining to carefully managing temperatures during roasting, each step is essential to achieving a meal that highlights the culinary potential of this iconic duck.
With the right preparation and attention to detail, a roasted mallard becomes more than just a meal—it’s a testament to the craft of cooking wild game.

Roast Mallard
Ingredients
Method
- Brine the duck in the cold water and kosher salt for a few hours. Rinse, then allow the bird to sit in the fridge uncovered with ample airflow for several hours. When roasted, dry duck has very crispy skin.
- Hours ahead of roasting, cut the shape of the duck breast out of two navel oranges. Freeze those pieces. With the cut-out pieces, trim off the rind and freeze those as well. You may wish to do this with two sets of two oranges; I’ll explain why here shortly.
- When ready to roast, pre-heat your oven to 275 F. Cut the root vegetables or celery into planks, and arrange them in your skillet so the duck can roast on top of them. Alternatively, if you have a dehydrator, you can use the same stainless-steel mesh trays. Set the duck breast-side up on the vegetables or tray.
- Stuff the duck’s cavity with frozen orange slices. Place whole, cut-out frozen oranges on top of the breasts. You may need to secure them with toothpicks to prevent them from sliding off.
- Roast for at least 50 minutes. You may wish to swap out the frozen oranges at this point and roast for another 30. Be careful not to burn the wings or legs.
- Once the sides of the duck are dark golden brown, remove the oranges and allow the duck to roast for 5 minutes. Then, turn on the broiler and broil for another 5 to 10 minutes to crisp up the skin.
- Check the duck’s temperature and verify that the breasts are about 140 F and wings and legs are closer to 190 F. Even if the breasts are done, it still may be necessary to throw the wings and legs back into the oven to tenderize.
- Finish this dish up by making a glaze from fat and orange drippings. Just add a little bit of honey to the skillet after removing the duck and its roasting vegetables or tray. Then, mix the honey with the drippings until combined, and pour over the roasted duck.


