How to Take Better Food Photos with Just Your Phone
Capture your wild game dishes in a way that honors the hunt, the game, and the work after the shot
You have already taking photos in the field and now have just made an incredible dish and want to share this marvel with your social circle. You’re proud of it, and why shouldn’t you be–you folded that bird and cooked it to perfection! That alluring smell and incredible flavor doesn’t translate to social media, so the photo is the closest you’ll get to capturing this plate’s complete essence. After all, as the saying goes: you eat first with your eyes.
Let me clear, there are many better food photographers than me out there. But I’ve learned many things over the past several years and have come a long way from my earlier days of taking terrible food photos–some things are better left in the past!
These days I do shoot on a digital camera, namely a Canon 5D or our family’s Nikon D7200. But up until recently, I shot all my food photos on my iPhone. For those interested in learning the ins and outs of DSLR equipment, you can find many good resources on YouTube or an introduction-to-photography book. For those who want to start out learning the basics of food photography with their phone, like I did, here is a crash course on the subject.
Lighting is 70% of a Fantastic Photo
While the percentage is debatable, I would still argue that proper and adequate lighting is what makes or breaks a food photo. I’ve seen incredibly plated, amazing professional-chef-level dishes shot under sallow, dim lighting that did the food a major disservice and, ultimately, looked unappetizing.
Good lighting adds depth to your plate and lets every crispy, delicious morsel pop for the camera. What this all means for you: take advantage of good natural lighting or invest in a lighting kit.

Being able to determine what is “perfect” lighting will take time but, generally speaking, you’ll find your best light is shortly after sunrise and just before sunset, during what is referred to as the “golden hour.” During this time, when the sun is low near the horizon, the earth’s atmosphere acts as a natural diffuser. The light is incredible. In the summer when our days are longest, this “golden” or “magic” hour is extended, perhaps even an hour or longer in some areas, but during the shorter days of winter months, this period of perfect light is a mere ten minutes on some days.
A common beginner’s mistake is assuming that photos should be taken when the sun is brightest. However, this can result in overexposure and will “blow out” a photo. I will take photos during midday, however, I do so in my kitchen where my in-need-of-cleaning dining room windows serve as a diffuser for my kitchen table. I also love taking photos during the winter when there’s snow and the sun is high, causing the light to bounce off the snow and into my kitchen. With the help of a couple lighting stands, the resulting lighting is some of the best I get here in Kansas.
If I am planning to use mostly natural light, I will plan for my food to be done cooking when the light is ideal. I will check the time for sunset and set my goal time appropriately. Typically speaking, it’s about a half-hour prior to sunset. Don’t hesitate to keep notes or even a journal throughout the year when you felt natural lighting was at its best.
For lighting kits, you can find these cheap on Amazon, but you do get what you pay for. I’ve purchased a few and the cheap ones either don’t offer the light settings I need or they go out within a matter of months. Make sure you have at least two lighting stands, because you will usually need to light the plate from a couple of different angles.
As for the remaining 30% of what makes an amazing food photo, I’d argue it’s equal shares of proper cooking, background, and plating.
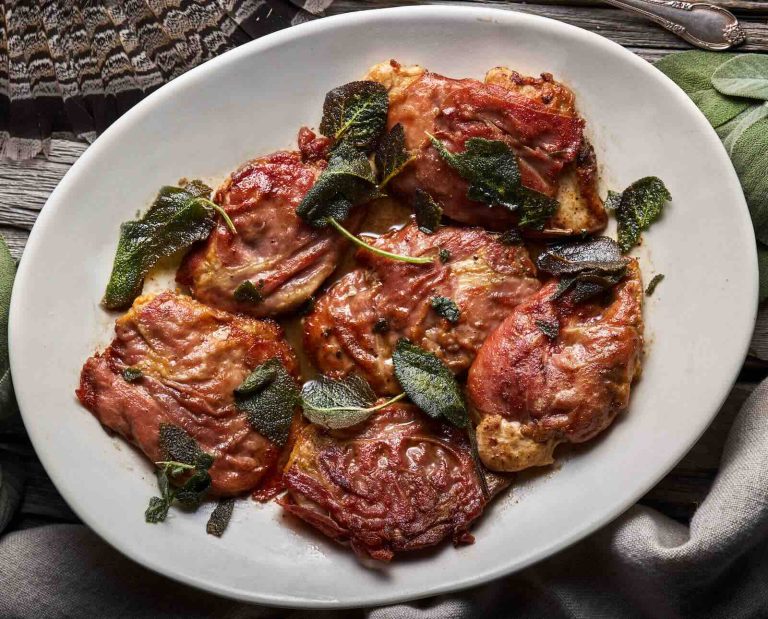
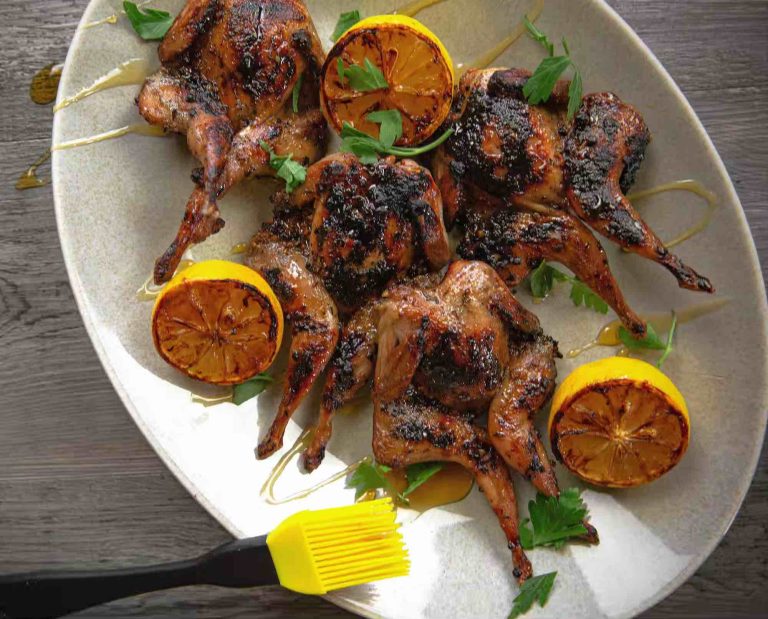
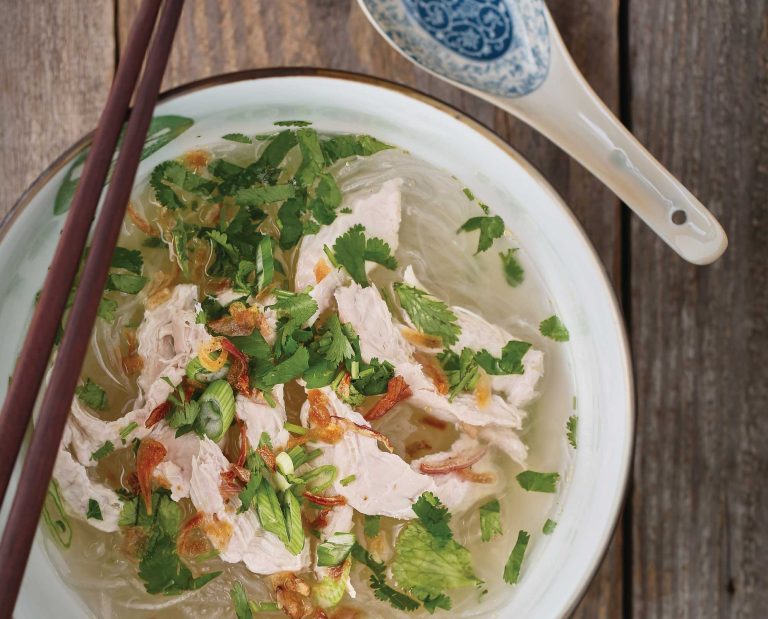
Plating the Food for the Best Look
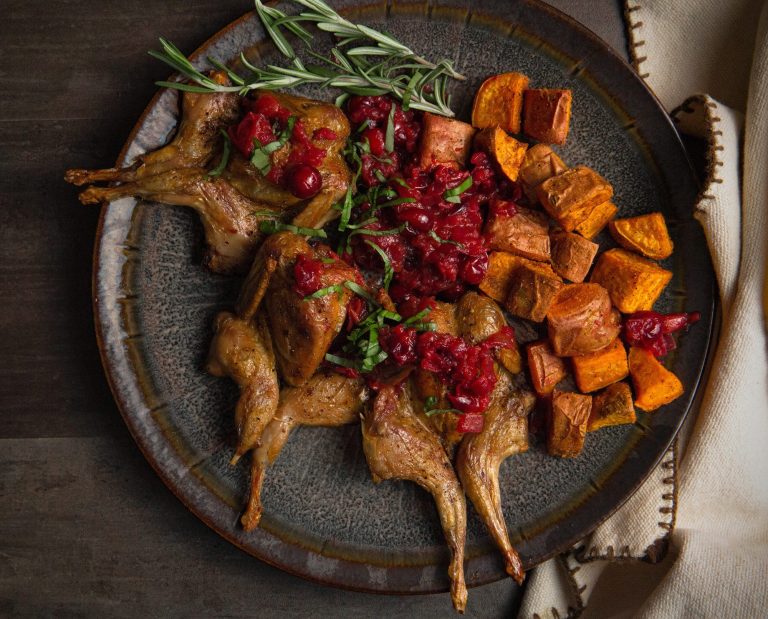
I own dozens of single plates (not sets) that I’ve found in various stores over the years because I want options when it comes to presentation. Color balance matters and sets the overall tone for a photo.
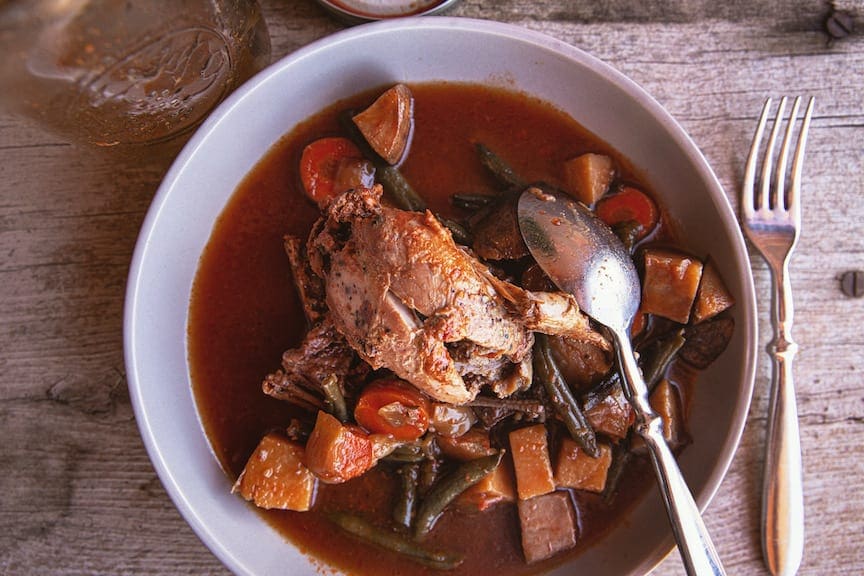
For a recent Pheasant Taco recipe, I wanted a lot of color to create a festive feel. In contrast, for Canned Quail, I wanted a more rustic, homestead kind of tone, so the color scheme was subdued and almost faded.
To achieve your desired color balance, you must also consider what side items to pair with your main course. Should they have a lot of color? What colors? A crispness to match your roasted bird? And then there’s the garnish, which is often overlooked but can be very important. Parsley is the most common garnish but there are other options, for example cilantro or sliced scallions. These green garnishes add a professional look but also make a photo pop with bright green tones. The bottom line is that if you want that amazing food photo to really capture a dish, plan ahead with sides and perhaps a garnish.
Choosing a Background for your Food Photo
A good background is also very important, as it establishes a sense of setting–worn wooden planks might suggest grouse camp, while a granite background could convey a gourmet setting.
Here’s the fun part: these backgrounds can be fake. I recently took a trip to Lowe’s and spent $30 on six different backgrounds–all vinyl tiling meant to resemble wood, granite, etc. For backgrounds that require assembly, I bought a wooden board from the lumber yard and stuck these pieces together.
So if you’re in need of some background options, consider visiting your local hardware store’s floor and tiling department.
Complete the Photo with Props
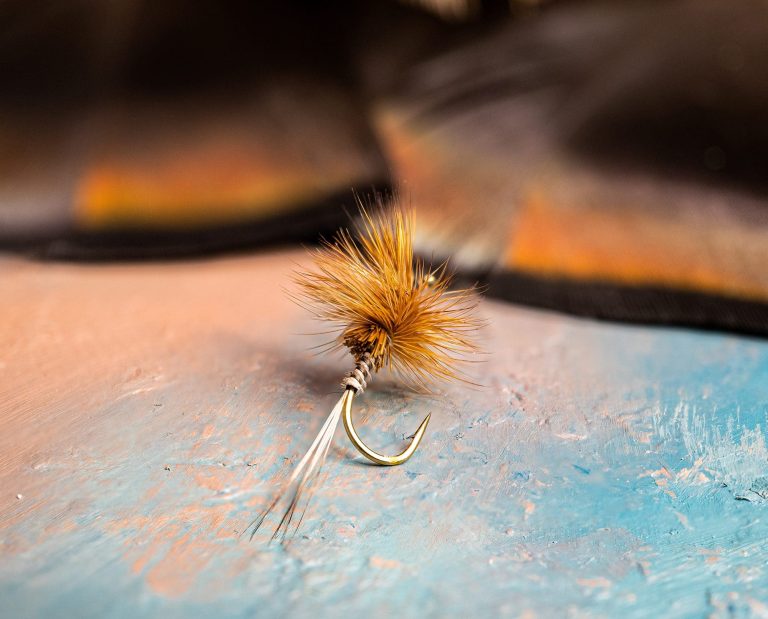
Props add something “extra” to the background and can be anything from turkey fans or rooster tails (save these from your hunts) to garlic bulbs, basil leaves, or forsythia flowers to further emphasize the seasonality of the dish. Spice your game while cooking, then spice up the background with props.
Ensure Your Food is Cooked Correctly
This final piece of what makes an amazing food photo is pretty self-explanatory and basically comes down to following a recipe correctly or cooking your game as it should be cooked. And yes, you could argue this is the most important aspect, but I’d counter that I’ve seen many overdone steaks in my life that still looked amazing because of the other 90% of the equation.
It’s also true that you could scrap the other 90% of the equation and kill it in the kitchen with how you cooked your game. People will see said photo and applaud your prowess, but they probably won’t drool.
Editing Your Food Photos for Perfection
The final step in any professional-looking photo is a thorough edit. I use Adobe Lightroom Classic for photos. I will white-balance the photo, adjust light levels, tinker with saturation, and of course add layers of texture. Prior to having Lightroom, I used the free version of Google Photos for editing. They have a decent set of options from adjusting lighting, color, and even texture with “pop.” Even now, I will also apply a subtle filter via Instagram when posting. So consider finding free photo editing software that works for you. If you decide to get more serious, pay for a subscription to Lightroom or something similar. Whatever path you choose, spend the time to learn the software and use it to its utmost potential.
Follow Many Food Photographer Accounts for Inspiration
An artist learns quickest by imitating. You will also find inspiration for backgrounds, plating, and dishes–every type of inspiration you could need–by following food photographers on Instagram. The more often you see it done correctly, the more often you’ll get it done correctly. And then sometimes on some accounts, like mine, you might see a photo and say, “I don’t like how he did that. I’ll make sure to never do that.” Yes, we can learn by learning to criticize–it’s all part of the creative process.
As always, reach out to me on Instagram (@WildGameJack) with any questions or comments.