Preserved or Canned Quail
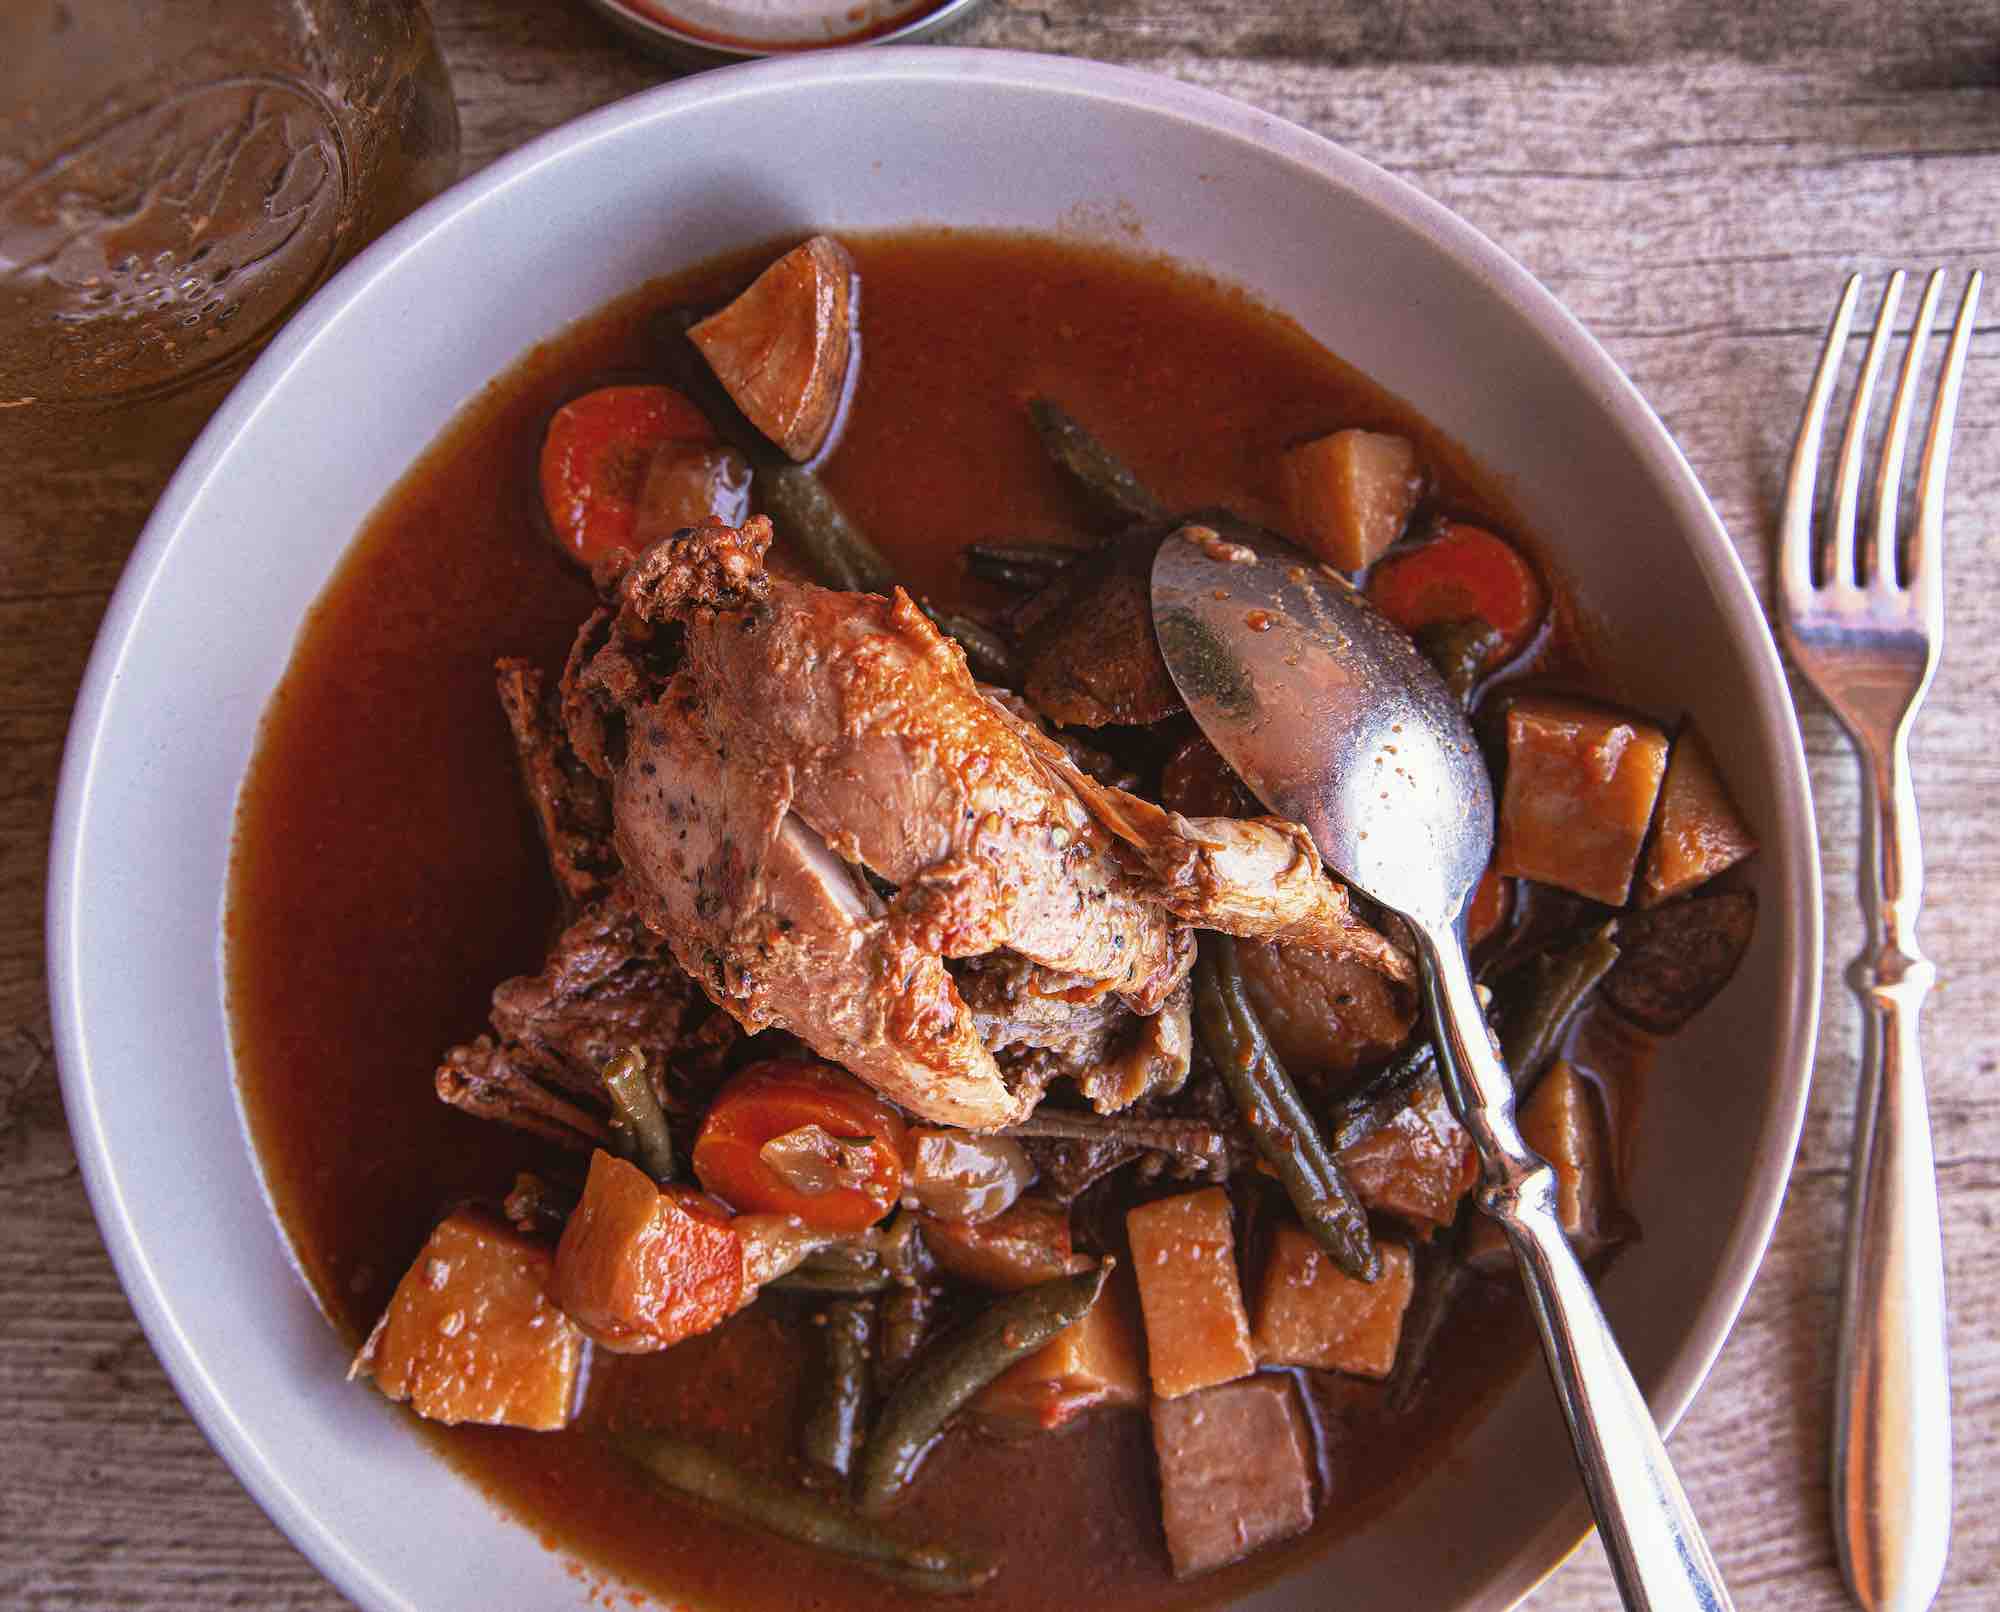
Preserve this year’s bird count by canning your quail to enjoy the rich flavors throughout the off season
No, you won’t find canned quail between the tuna and sardines, at least not at most grocery stores. And I’m not going to suggest that canned quail is for everyone. The final product, breast meat for example, is drier than if roasted to the perfect 160 degrees Fahrenheit, but the quail is imbued with a lot of flavor after slowly cooking at a higher pressure and low temperatures for approximately two hours.
This recipe does require a pressure canner, as pressure canning is the only method recommended as safe by the USDA for low-acid foods such as vegetables, meats, and fish. I own a 23-quart Presto pressure cooker and canner. I found it at Ace Hardware for $100. Others are more expensive, but this one has served me well for a fair price.
Different pressure canners have different directions, so please read your model’s directions carefully. Pressure canners can be dangerous if not operated properly. Don’t risk burning yourself or blowing the lid off your unit because you skipped a paragraph. My instructions below when I reach steps regarding the use of the pressure canner are for my specific model. Methods for before and after using the pressure canner—how to tell if the jar was canned correctly, for example—remain the same.
If canned correctly, canned meat can last in a cool, dry, dark place (such as the back of a cupboard) for 3-5 years without spoiling. Also, the only real work lies in the canning process, but once complete, all you have to do is crack the lid and reheat to enjoy all that flavor.
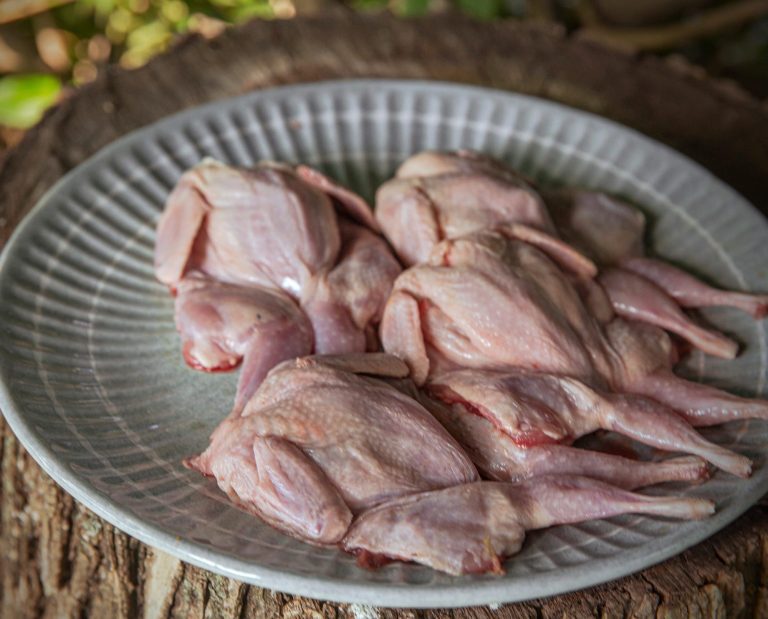
I used a 32-ounce Ball mason jar, but a 16-ounce jar would work for this recipe. I also kept the feet on my quail (after washing thoroughly) because I have read that bird feet can add flavor to stews. You are welcome to remove the feet. The bird can be skinned, too; there’s no need to pluck birds for this recipe because the skin turns to gelatin during cooking anyways.
Ingredients for one serving
One skinned or plucked quail
2-3 ounces cubed potatoes
1-2 ounces sliced fresh carrots
1-2 ounces fresh green beans
1-2 ounces freshly diced yellow onion
2 cloves of fresh garlic
1 cup V8 Spicy Vegetable Juice
Kosher salt and ground black pepper
Cooking Instructions
- Be certain to read and follow instructions for your pressure canner.
- Make sure mason jar is clean and, preferably, warm (fresh from simmering water or kept in steam inside recently run dishwasher).
- Cut vegetables and lightly salt and pepper.
- Stuff cavity of cleaned quail with two cloves of fresh garlic and lightly salt and pepper the outside surface of the bird. Place in mason jar.
- Add vegetables into the jar along with 1 cup V8 Spicy Vegetable Juice.
- Make sure rim of mason jar is clean by wiping with hot, wet towel and then with a clean, dry towel. Secure lid.
- Instructions for pressure canners WILL VARY, but I added 1½ quarts of hot water to bottom then place mason jar on rack at bottom in accordance with the instructions for my canner.
- Seal the lid on the pressure canner then heat on medium, allowing a steady plume of steam to escape the vent pipe for 10 minutes prior to placing the pressure regulator on the vent.
- Once pressure reached 11 psi, keep it between 11 and 13 psi for 90 minutes then turn off heat. Once the pressure drops to zero, remove the pressure regulator, then allow canner to cool for 20 minutes before removing canner’s lid.
- Allow your canned quail to cool for at least 12 hours prior to opening the jar. If sealed properly, you won’t be able to press in the lid. If there is a bit of give when pressing the lid with your finger, then it was not canned correctly. If it’s not completely sealed, immediately place the jar in the refrigerator and eat within a week. If canned correctly, quail will be good for 3-5 years if stored in a cool, dry place.
Enjoy! Reach out to me on Instagram (@WildGameJack) with any questions or comments and be sure to check out my other wild game recipes and cooking instructions here.