Tips on Better Ruffed Grouse Shooting Skills
From the shotgun you use to how you adapt to habitat, use these tips to increase your successful ruffed grouse shots this season.
What is the difference between a ruffed grouse and a partridge? The answer lies in physics; one is flying, and one is not.
Jokes aside, ruffed grouse stand as one of the most challenging birds to hit on the wing. I credit this more to do with their habitat than anything else. Ruffed grouse reside in dense foliage, shrubs, young trees, and conifers near water in many forms, whether a river, stream, pond, or bog.
George Bird Evans said in The Upland Shooting Life, “I know of no bird shooting that offers so few hits for shells fired and, other than turkey hunting, so few chances to shoot as does grouse shooting, unless you indulge in idiot shots.”
William Harnden Foster believed the ruffed grouse flew through the cover at an average speed of 70 feet per second, and the average distance a bird was shot at was twenty-three yards. It is believed that ruffed grouse have the lowest successful shot rate of any game bird in North America. The fundamental draw to ruffed grouse hunting is not because it is easy but because it is hard.
For those who grew up in these environments, things like “ignoring the trees” is a default setting. But for those who have not grown up in the thick covers of ruffed grouse shooting or are new to hunting, this can be a somewhat jarring and slow learning process.
Here are some tips on how to improve your ruffed grouse shooting. Hopefully, they will help you connect on a few more birds this fall. Some of these can be practiced at home, while others will take practical field applications that can only advance with real-world experience.
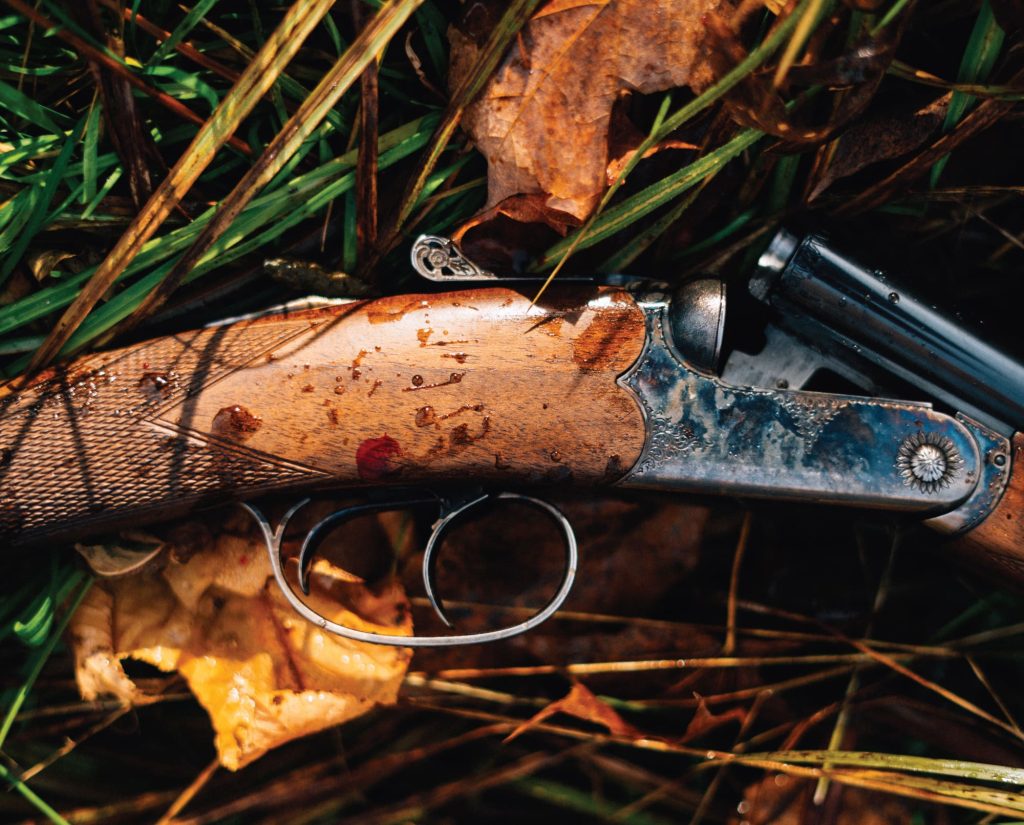
Have A Grouse Gun or a Shotgun You Can Shoot Straight
When it comes to ruffed grouse shooting, start with a gun that you can shoot straight. I do not care what kind of shotgun it is; the fact that you can shoot it confidently is what’s important.
Grouse shooting situations will come with a lot of disadvantages. Poor foot placement, obstacles, unpredictable birds, probably some lousy dog work, lots of trees to shoot, no room to swing a gun, and other versions of chaos are things you’ll experience as a courtesy of the grouse woods. Carrying a shotgun that you can shoot straight can go a long way.
For the more serious, long-term approach, you should think about the weight of your shotgun. Remember, you must carry this shotgun for hours on end up and down mountains, through rugged covers, and ultimately, make a straight shot when it finally comes together. Ideal grouse-hunting shotgun features include:
- Choked with Cylinder, Skeet, or Improved Cylinder (most shots will occur under 25 yards)
- Weigh under 7 pounds
- Have 28” barrels or longer (I am sure I will get stoned for this comment, but good swing is more important than some exaggerated idea that 4” will make or break a shot by getting hung up in cover)
- A shotgun that fits your body measurements (or as close as you can get)
- Shot size from No. 6 to No. 8 (The more leaves you’re hunting in, the heavier your shot should be. Remember that No. 6 shot is heavier than No. 8)
Perfecting the Mount of Your Shotgun
Way back in the day, when I worked for the Sheriff’s Department in Boston, I would go shooting with a member of the State Police STOP team. He was one of the department’s most proficient shooters and a shooting instructor. His biggest piece of advice was to perfect the grip of my handgun.
I spent a ton of time holstering and unholstering my unloaded Glock Model 22 to perfect my grip. The concept was simple. The sights should be perfectly aligned when the gun comes up from the draw. If they are not, readjust your grip and try again. Once you get it, it’s about building that grip into muscle memory.
Not long after I perfected my grip, I shot a perfect score on my handgun qualifications. The qualifications included high-stress situations, rapid-fire, low lighting, flashing lights, and even shooting with your non-dominant hand with your dominant hand behind your back. While the ruffed grouse will not offer this kind of intensity, it will offer its own form of chaos in shooting environments.
I had a lightbulb moment the first time I read shooting instructor Keith Coyle’s article How to Practice Gun Mount for Better Wingshooting. Part of the famous Churchill Method, this was the very thing I had been taught in law enforcement.
The concept is straightforward. With an unloaded shotgun, pick an item off at a distance, and mount your shotgun. If your sight plane is off, readjust and try again. There is a science behind the best practices for grip, but at a minimum, perfecting your mounting consistency will increase your muscle memory and shooting proficiency.
I am trying not to get too far into the weeds on proper shooting technique here, but it is imperative that you learn to shoot with two eyes open. These practice drills are a great place to start.
Pattern Your Shotgun
Patterning your shotgun does not have to be rocket science; don’t overthink it. Put out a large sheet of paper (I often use Rosin paper, a habit of my flooring days), and use it as your target. Aim at the center of the paper and shoot. Repeat, using a separate piece of paper for each shot. Use target loads and game loads. Test out your different chokes. The mission here is to actually put a visual spread of shots in your mind (as well as confirm that your shotgun’s pattern is good).
William Harnden Foster inspired me to do what I call the Foster method. I test as close as ten yards and as far as thirty yards. After testing my gun, I take the paper and use a gridding of one-inch squares to see how many of the squares had a pellet in it. The concept is that a ruffed grouse in the pattern would not be able to escape with minimal one-inch gaps present. Large holes in your pattern can mean everything from a poor shot and choke combo to something more sinister with your shotgun. But the confidence in knowing is so important.
If you are shooting a side-by-side or over/under shotgun, try both barrels. Barrel regulation comes into play with these double-barreled shotguns. Barrel regulation means that the two barrels should have the same point of impact at a set distance. Sometimes barrel regulation can be seriously off. This can, in some cases, be fixed by a gunsmith. If your shotgun’s regulation is off, I strongly recommend leaving it at home.
Practice at a Skeet or Sporting Clays Range
Skeet is my go-to because of the limited options of sporting clays availability where I live. The skeet range, however, is not even a mile from my house. Skeet was invented by New England ruffed grouse hunters to practice their shooting skills in the off-season. While it’s not perfect, it does replicate many similar shots one could experience in the grouse woods without the trees.
Gene Hill was adamant about the idea that a grouse gun, because of its often lighter weights and other features distinctly different that guns built for clay shooting, would require a different set of skills to shoot accurately and consistently. Stick to the same shotgun from late summer to the opening season as it applies to these first three preseason tips. Switching between guns will hinder the muscle memory you are hoping to build. It’s a minor detail that I have found can significantly improve your overall goal of shooting straight.
Always start your shooting stations unmounted at the ready. You will not begin your grouse shooting adventures at the mount, and plenty of experienced instructors will tell you that fluid swings are made more difficult when started from a mount. Skeet gives a great opportunity to develop a sustained lead on a target. I caution anyone who gives specific distances to always lead a bird. Angles change, speeds change, and distances vary. Shooting skeet should be like throwing a ball to a running catcher; it is instinctual.
If you struggle on the range, try dry mounting your shotgun multiple times, making sure your mount is correct. This often resets me on the range if my wheels start to come off. This can also be practiced in the field while walking behind grouse dogs.
Feet placement is something else that can be hatched out at the skeet or sporting clays range. Like building muscle memory for grip, foot placement can significantly impact how well you shoot. I will warn you that foot placement will become far more challenging to replicate in a real-life grouse shooting experience, but developing a solid stance is important.
Understand How Ruffed Grouse Escape Situations
Grouse love to run. They would be happy to live most of their life without ever having to fly. Flying is a last resort that often happens when thick cover breaks to more open areas or in dense cover when they feel overwhelmed and have no other option. I suggest reading the article Understanding the Threat Response of Ruffed Grouse in Hunting to understand how grouse will behave when pursued.
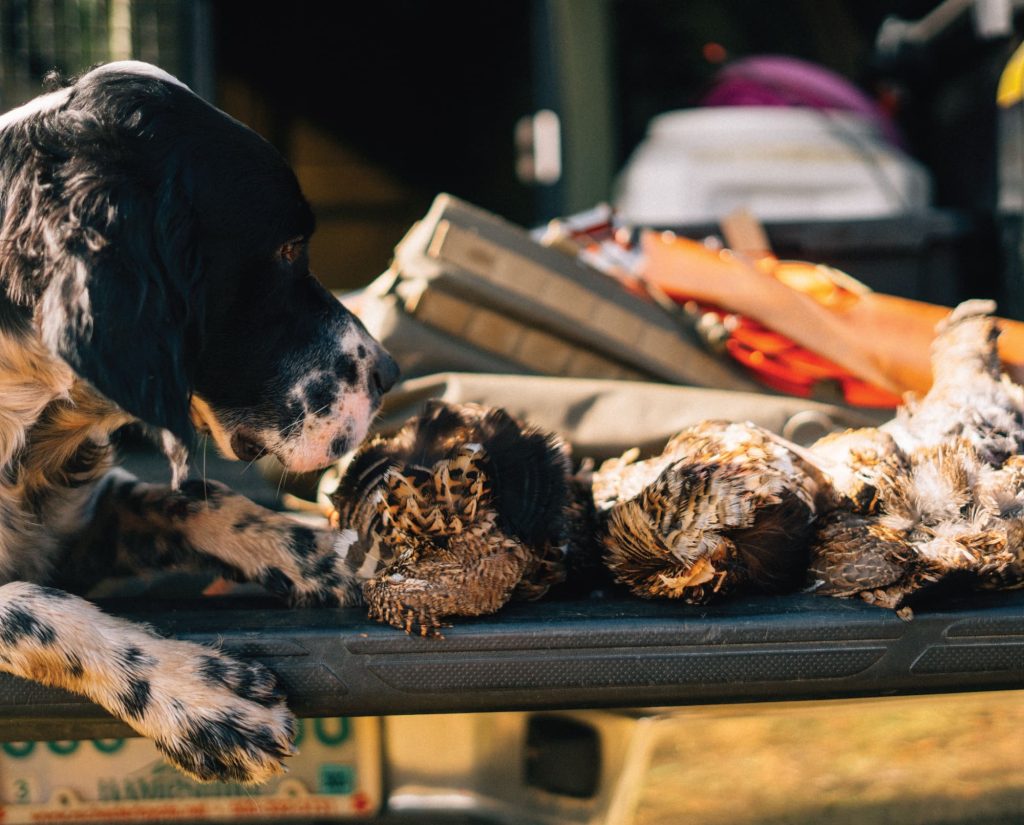
If pointing dogs are your poison, there are plenty of considerations to consider when approaching a dog on point. I firmly believe that getting ahead of the dog is a key to better ruffed grouse shooting. By default, I handle all contacts like a ruffed grouse. Woodcock will hold much tighter, allowing in many situations to come back into a point if necessary. Unless pinned down, that grouse will be ahead or to the dog’s side, looking to get away on foot for as long as possible. A recent article by Callie Krewson called A Beginner’s Guide to Approaching a Bird Dog on Point has some sound advice on working with pointing dogs in wild bird situations.
Deliberate Planned Approaches
My father put a lot of time into how my brother and I approached a dog on point. His goal was to move from small opening to small opening like a game of chess to be second nature. These small openings, close with each deliberate movement when possible, would provide better footing, shooting lanes, and room to swing a shotgun. The core goal was still to get ahead of the dog. Swinging around it, using game trailers, whatever made things easier. I still find myself making some poor moves in the moment, only to laugh as a ruffed grouse gets up in what should have been my approach. This is all part of why one should love grouse hunting.
Planned approaches shouldn’t be overthought; your approach will become instinctual with time. Grouse cover is full of things that can make shooting near impossible. At a minimum, you should avoid those in your path. A hunter who sits there and ponders where to move next will find that a grouse is far too impatient for such civilities.
Safety When Ruffed Grouse Shooting
I am going to say this bluntly. Ruffed grouse habitat is not the prairie. It is not the open chukar hills. Put as much blaze orange on as possible; do not be an idiot. If your dog does not stick out like a sore thumb, put blaze orange on your dog, too.
If you do not know where your fellow hunters are, which happens every so often in the grouse woods even when people are within 10 yards of each other, do not shoot. Only pull the trigger when you safely know where everyone is, including the dog. Keep your shots elevated, not at a height that could strike low-flying targets. Let those low-flying birds have their day. It is not worth the risk.
For those who have grown up shooting around dogs and other people, not pulling the trigger in sketchy situations is often instinctual. For those that have not grown up doing this, it is not something anyone should take for granted. If you feel any doubt at all, do not pull the trigger.
Ignore the Trees
Think that the sapling in front of you will block your swing? Is that vine going to catch your elbow? Worried that thick spruce will stop your shot? If you thought about any of those things in the heat of a ruffed grouse encounter, you are working against yourself. Ignore the trees.
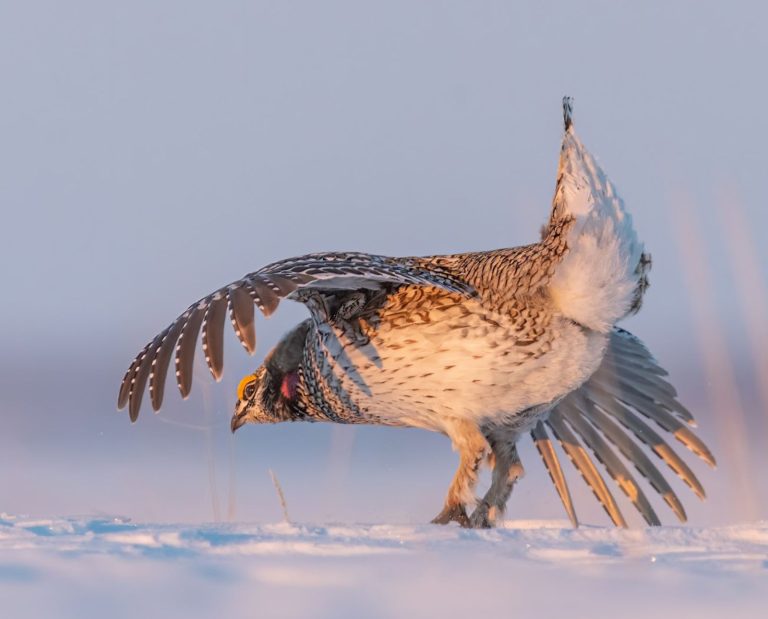
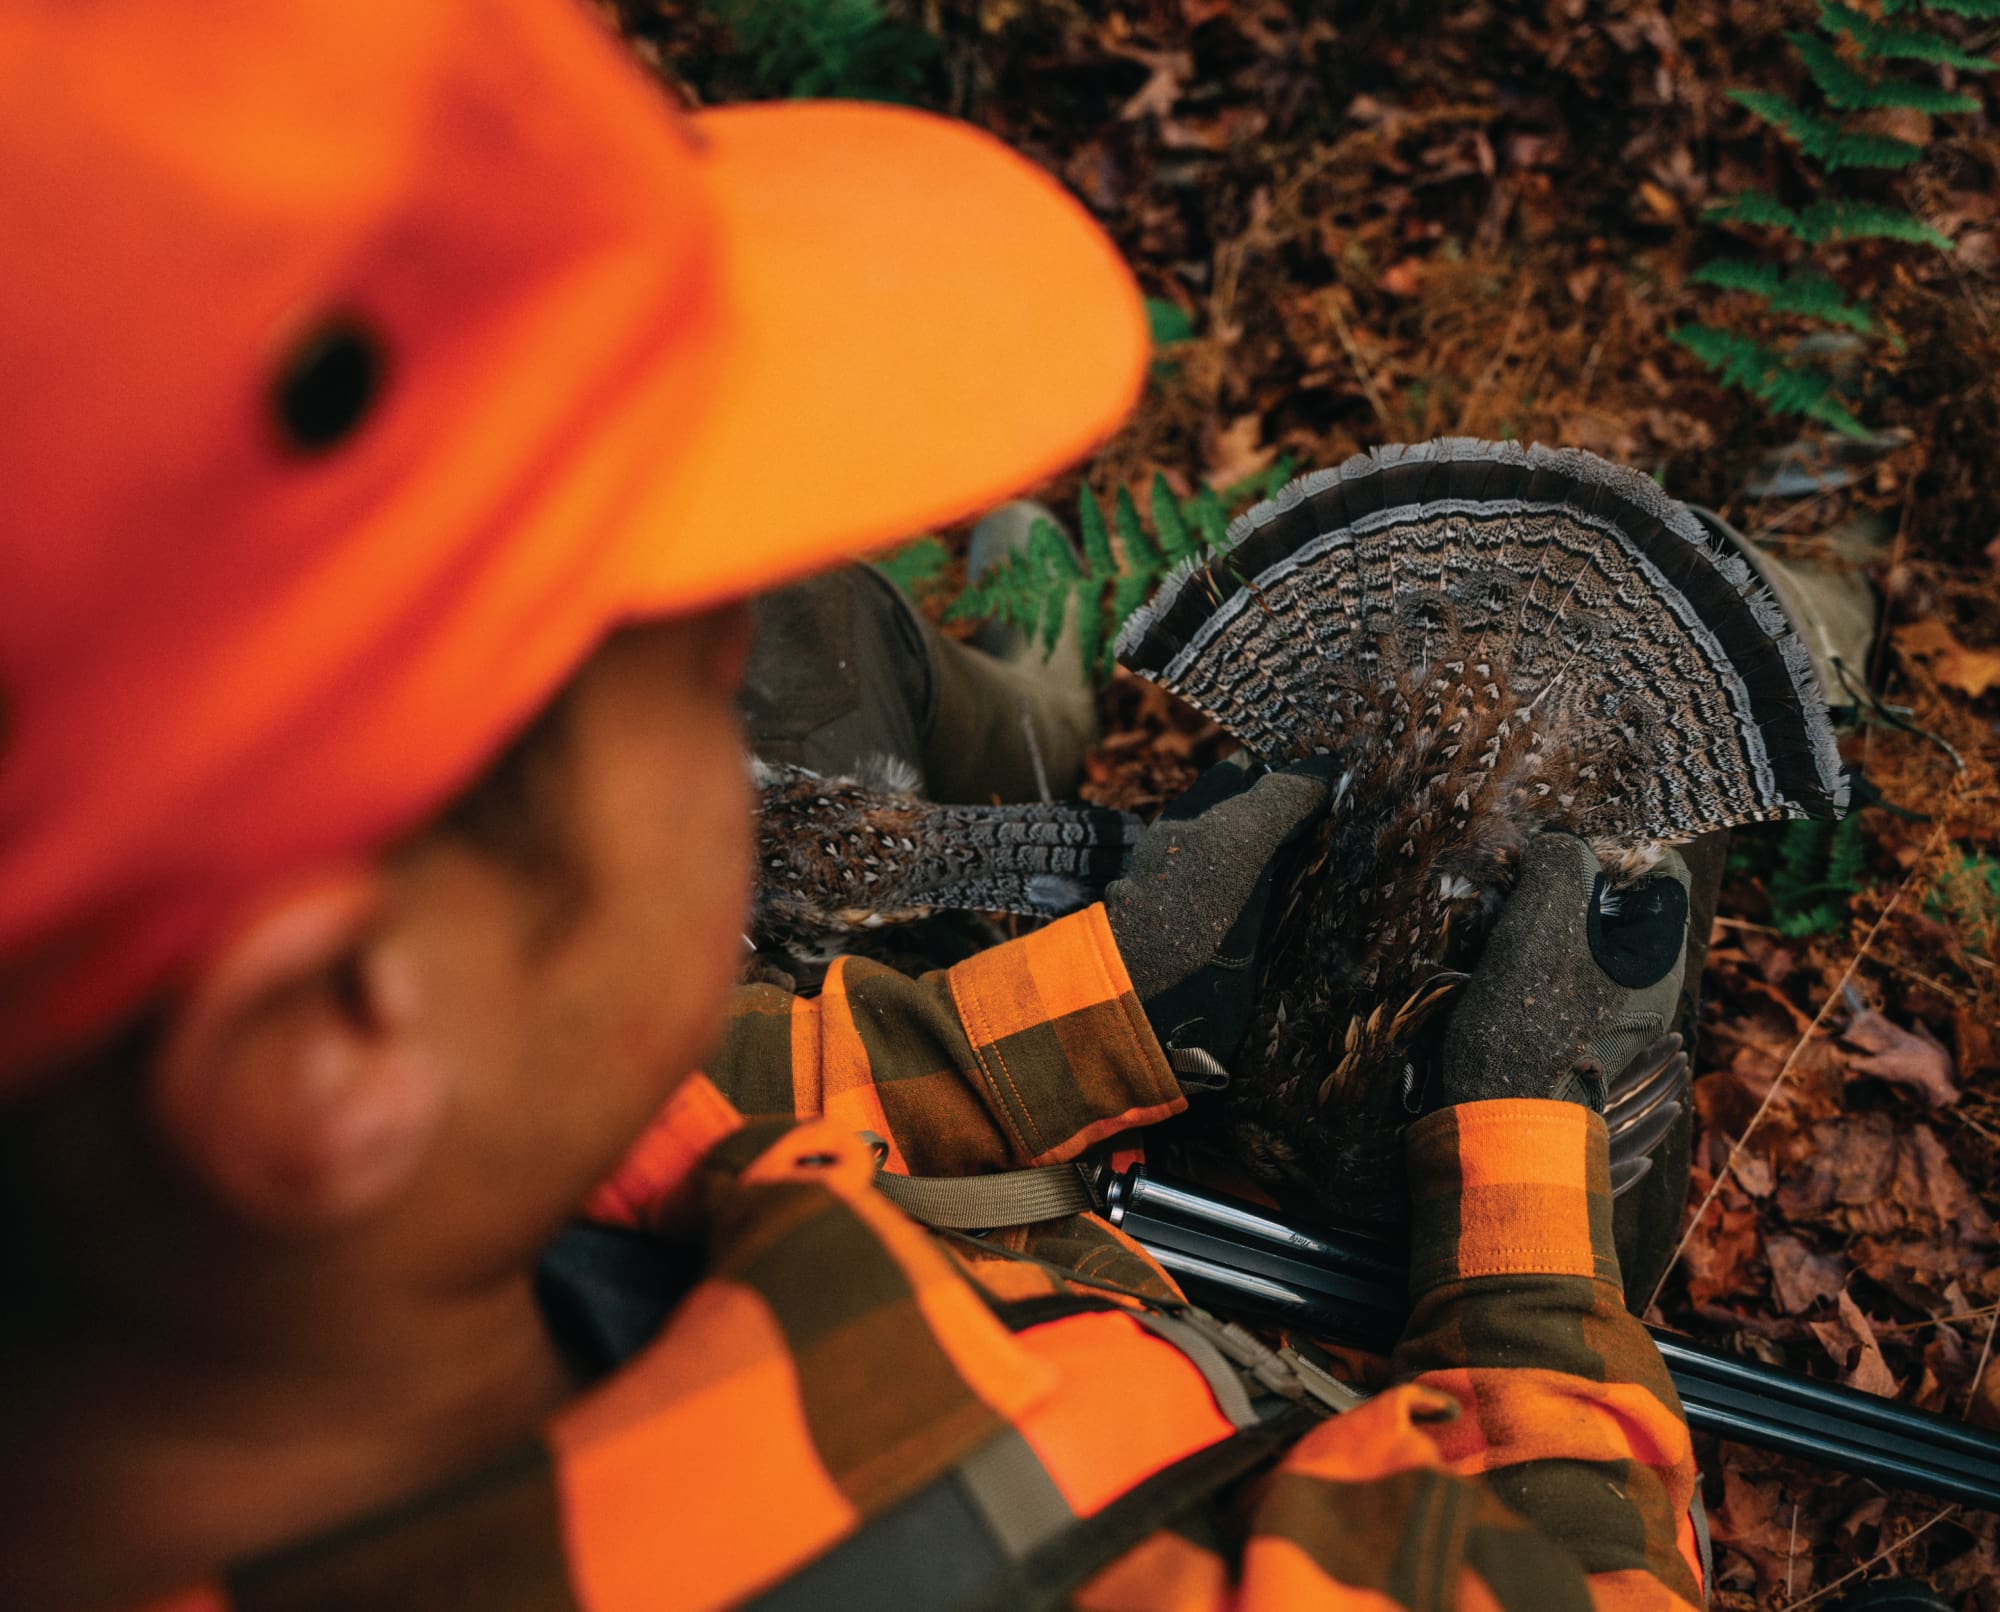
What sticks out in my mind is that beautifully spread tail as it tips towards me as the grouse evades thick cover with a level of elegance that will never be fully understood. You get that gut feeling of how right the swing feels as you mount the gun. As the butt of the shotgun kisses your shoulder, the shot rings out, perfect alignment, as a tree trunk takes the brunt of it, and the ruffed grouse continues in his elegance, humbling you once again. But things keep going!
The recovery, the ability to keep that swing going without hesitation despite the obstacles, is what it means to ignore the trees. Keep the fluid passthrough going, and keep the shots coming like none of the cover around you exists.
Ignoring the trees may be one of the most common things people complain about when they hunt ruffed grouse for the first time. And as someone who grew up with it, I am not sure I can give any real-world experience of how to accelerate getting over this barrier. But I will say this will work against you harder than any of the other tips on grouse shooting above.
Taking your time on a shot will seem like the farthest thing from your mind as you see a ruffed grouse soar through thick cover. But the old saying of “count to three” before you shoot is just one more supporting piece of wisdom to keep your cool in the difficult shooting situations ruffed grouse offer upland hunters.