How to Pattern a Turkey Gun
Use these steps to understand how effective your shotgun, choke, and shot combination is at a variety of distances
It’s the middle of winter. Hunting seasons have come and gone, the holidays and election cycles are behind us, and we’re left looking forward to warmer days, longer light, and turkeys. With ample time to organize vests, decoys, calls, and your collection of the coolest retro camo that money can buy, there is one more chore that needs attention: patterning that new shotgun setup or choke that Santa brought. This is especially important with the ammo shortages we’re experiencing this year, since you may be using a gun/choke/shell combination that you haven’t used before.
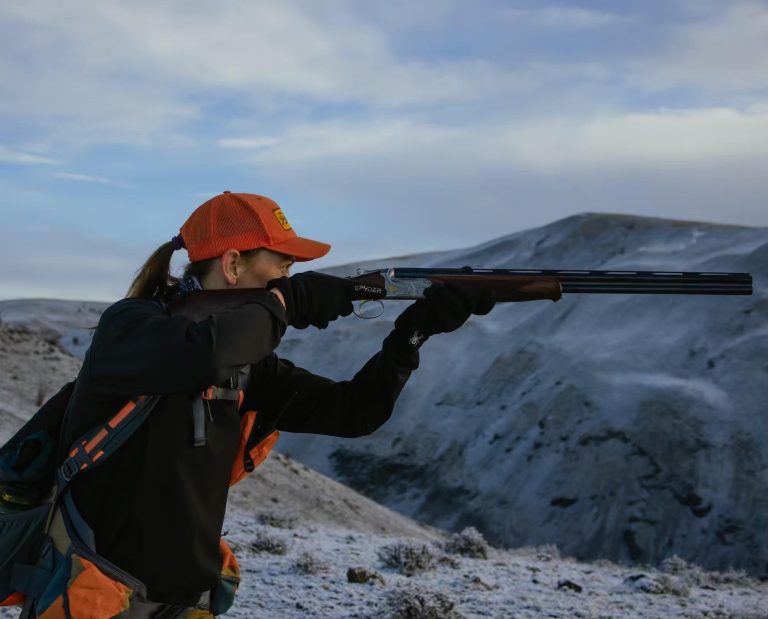
All of your gadgets and gear really won’t amount to much if your gun is not ready for that single moment that we are all chasing from March to June. If you are in more hospitable areas of the country this might be an easy task, not having to deal with a base layer of snow and frigid temperatures. Nevertheless, it has to be done. Whether you’re running your trusty ol’ rig or priming yourself to run multiple gauges and platforms, you need to know your maximum effective rage for each of your setups. This guide will not read like a technical manual from your favorite ammo and firearm manufacturer. Instead, this is meant to be a plainly written set of guidelines that anyone can easily put into practice.
The goal is to figure out exactly where your gun is shooting and what the pattern of shot pellets looks like at various distances. Perhaps surprisingly, there’s a lot more variation than you might expect. The exact pattern is almost entirely dictated by the unique combination of the load, shotgun, and choke. Understanding this will allow you to transfer what you accomplish at a shooting range into a punched turkey tag.
SUBSCRIBE to the AUDIO VERSION for FREE : Google | Apple | Spotify
A step-by-step guide to patterning a shotgun for turkey hunting
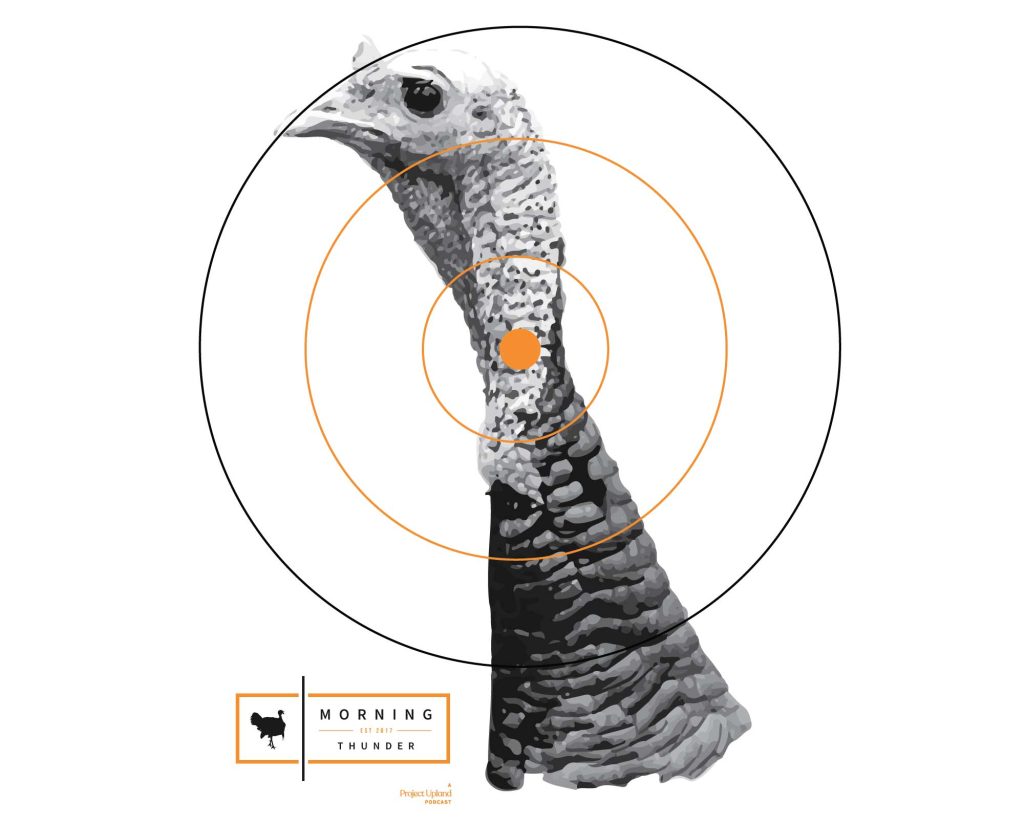
- Set your paper target(s) at a known distance. Set targets at 10, 20, and 30 yards. Download this FREE printable turkey target: Turkey Target Printable PDF
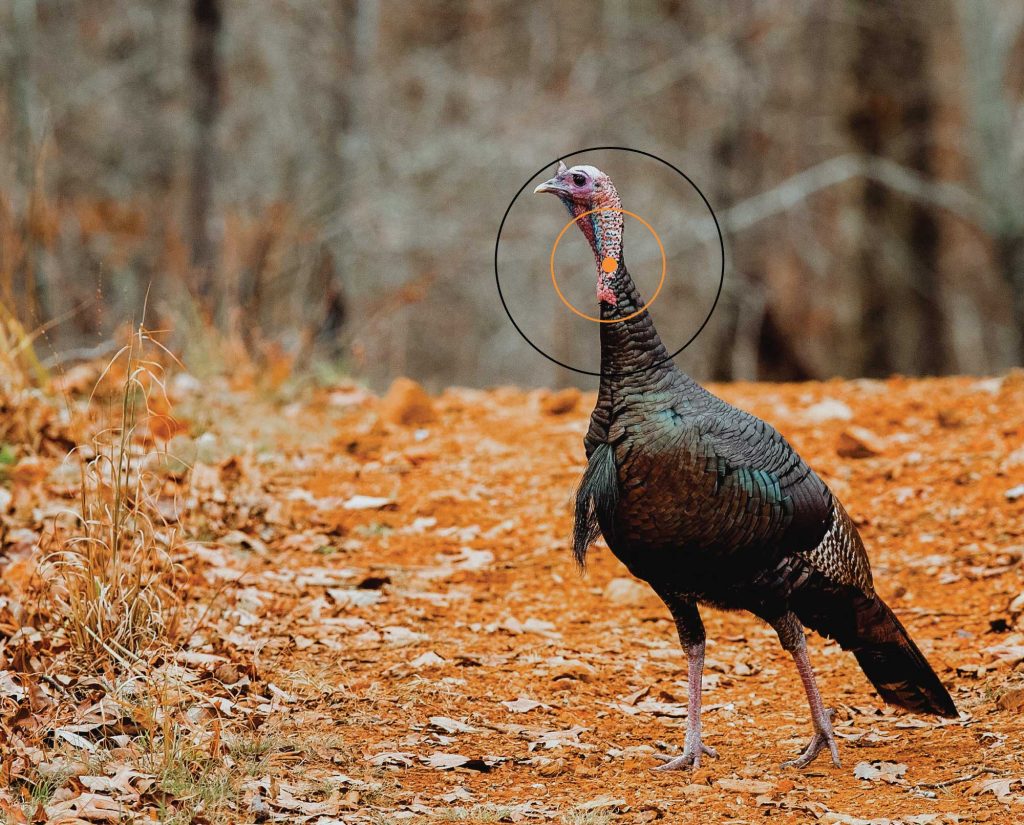
- From a stable position, aim at the base of the neck where the turkey’s head meets feathers and take a shot.
- Analyze the shot pattern:
- Was the group centered around the spot where you aimed? That’s a good pattern.
- If the pattern is grouped to the left or right, there’s a strong chance that it was a shooting error. The shot could have been pulled or jerked. In severe cases, this can be caused by a bent barrel or a poor combination of shot and choke.
- If the pattern is grouped above or below, this could also be attributed to shooter error. However, the most likely culprit is gravity. This is why you should shoot targets at varying distances to understand how your shot trajectory performs over distances.
- Pay attention to how much your shot patterns opens up over a distance. Was the shot too close and the grouping too tight? Was it too far and the grouping too open to be effective? This will help determine an ethical shooting range for your setup.
- If your shot pattern is very erratic, its possible that the shot and choke are not agreeing with each other. Try changing either ammunition or chokes to see if the pattern becomes more consistent and a cleaner grouping on the target.
For subsequent shots, replace the target with a fresh, blank one. This is important to be able to correctly analyze what’s happening with each shot. With more confidence, you can lengthen your distance past 30 yards, remembering that the type of shot you are using could become ineffective at greater distances and therefore unethical for shooting at distant turkeys.
Shot distances in turkey hunting
Always start your patterning exercise with known distances. These should be realistic distances that you are likely to encounter on a hunt where a kill can be accomplished in an ethical and immediate manner. With some advanced blended and Tungsten Super Shot (TSS) loads, pulling the trigger on a target that’s too close can result in a miss. Conversely, if you think your shot is a bit of a long poke with conventional loads—say a standard #4 lead load—you may miss or, worse, you’ll end up peppering a bird with shot and causing injury or suffering.
Start your session at the 10-yard mark and then proceed to move back in 10-yard increments out to 30 yards. For most hunters—fledglings and old birds alike—this is the edge of reasonable, ethical shooting. If you’re using blended or TSS loads, move back to the manufacturer-specified maximum effective range and, dare I actually say it, shoot those loads.
How tungsten shot affects turkey shot patterning
If you’re unaware, those blended and TSS loads are going to run you around $10 for every trigger squeeze. You’re looking for a couple of things in these practice shots: how your shot pattern holds together on the target and the consistent impact and grouping on said target. You may consider trying out different chokes during these trials if that is an option for you (again, personal economy comes into play here). The goal is to find that one choke, gun, and load combo that consistently holds and provides maximum effectiveness.
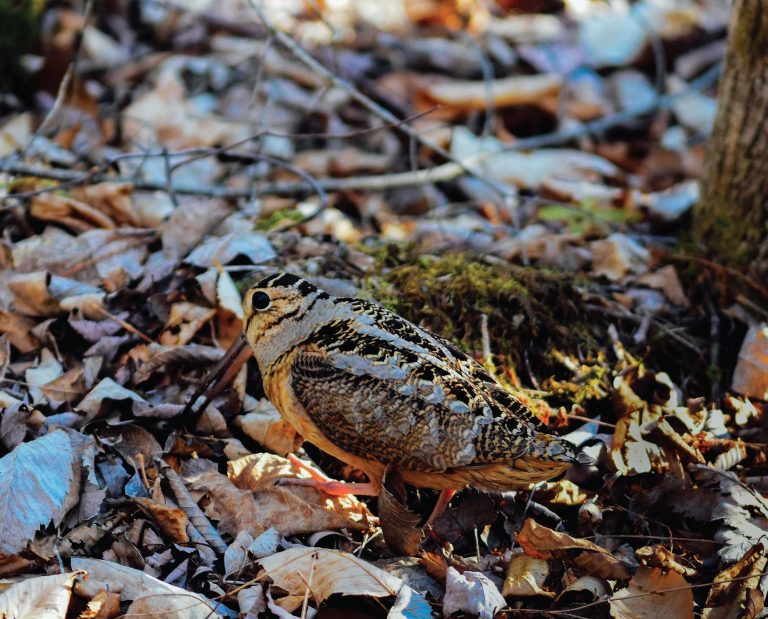
You’ve likely seen photos of your turkey nerd pals hammering targets with #9 TSS and consistently grouping over 400 pellets on the target. Even if you are not running these higher-end loads, you are still looking to place the bulk of your load on a turkey-head-sized target. Not a handful of pellets, not just a few. I’m really looking for the vast majority of those pellets to be in or immediately surrounding that target. These birds are tough and they require maximum shot coverage to ensure an ethical kill.
Effects of the shotgun choke on patterning for turkey hunting
The choke is the last thing that your shot will see as it leaves your gun. Once screwed in to the end of the barrel (being absolutely certain that the threads of your choke match your shotgun), the choke is designed to constrict your load of pellets in order to form an effective pattern at a particular distance. This distance varies depending upon the design of the choke. The spread will either hold together longer or open right up.
If you’re running a Modified choke, your spread will open up right away. This decreases the effectiveness of your shot further downrange. A Full choke is not a whole lot different from the Modified, but it will lengthen your effective range by another 10-15 yards—call it a 40-yard setup. Your buddies running those TSS loads are likely using a Super Full choke. When practiced and used in a safe and ethical manner, these are amazing setups to witness.
Look, you can get really wonky and deep into this stuff (and that is part of the fun), but for the average turkey hunter simply hoping to fill a tag in their local woods, just know and understand these basic ranges and spend some time practicing. You’ll be fine.
Your old #4s and blended heavy shot loads are solid choices, but should really stay within that 40-yard range. Ultimately, you’ll be the final judge as you observe how your setup actually performs at the range. Your targets, known distances, and setups will tell you your limitations.
Practicing those real-life turkey shots
All of this advice is helpful, but it lacks a very important variable that will truly complete this necessary task of patterning: reality. In a hunting scenario, you’re not likely to be set up with a steady rest or support. On the range, you probably won’t have obstacles like tallgrass and foliage (or as I like to call them, load eaters). You won’t be shooting around decoys, choosing shooting lanes based on obstacles, and never mind having to avoid shooting multiple turkeys that come in to your setup at the same time. So consider dressing your range day up a bit (where it can be safely done) to better reflect the reality of a day in the woods. Shoot tucked up against a tree, toss out a decoy, or sit with brush between you and your target. Get prone behind your reaping decoy and simulate raising your firearm from the awkward position you’ll be in when crawling. The more “real” you make your training, the better prepared you’ll be on the hunt. Honestly though, no matter how long we do this, you’re never fully prepared for how the particular hunt unfolds.
One last note, if you want to step up your targets, I highly recommend reactionary targets. These targets show your impact in high-viz colors. They will stand out, especially with a good set of binoculars to aide you. This will also save you some time trudging up and down the range, logging your daily steps, and constantly requesting the range to “go cold.” You might as well go to the grocery store, check out in the express lane, and then write a check for the balance. Get it?
Whatever you select, be sure you’re shooting at a turkey head on the target. You won’t see a Ten Ring when Tommy Boy comes strutting into your setup, nor will you truly know your actual effectiveness in your pellet coverage.
Best of luck to all of you this season, and to those new to our community, welcome! I truly hope you are all blessed with amazing experiences this spring.