How to Clean an Over and Under Shotgun
Fred Bohm, owner of the gun cleaning company Sage and Braker, brings us an extensive look at the proper cleaning and maintenance of over/under shotguns including gear, technique, and disassembly
Cleaning a shotgun is a basic part of proper gear maintenance in any type of hunting or shooting activity. The type of shotgun—pump, semiautomatic, side-by-side, over/under, or even single shot—can change some details in the process for proper results. In this step-by-step guide, we break down the process of cleaning one of the most popular action types: the over and under shotgun.
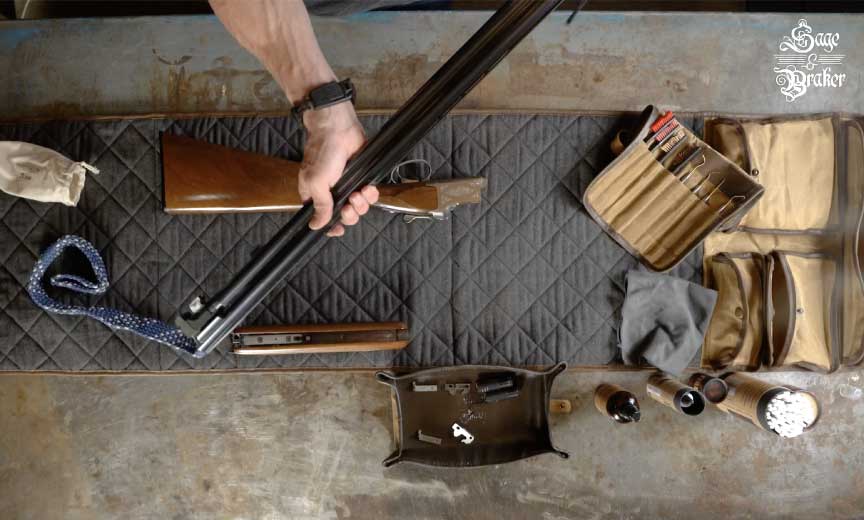
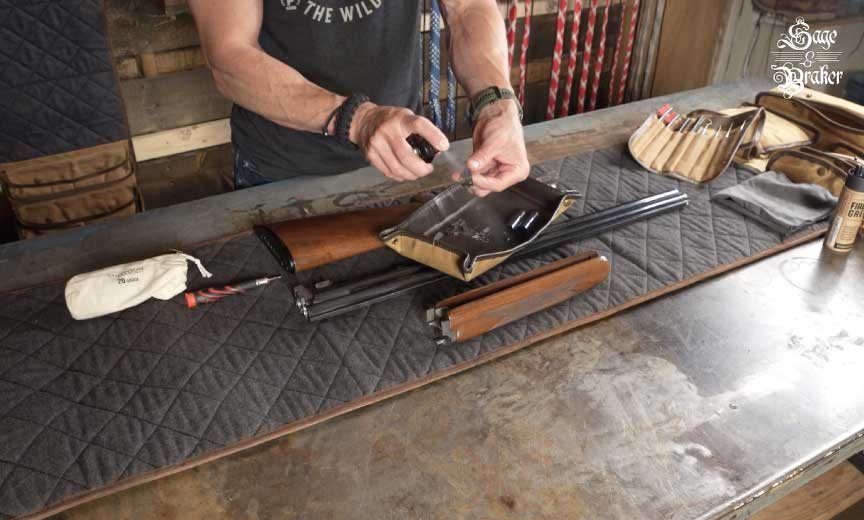
Gear needed to clean an over/under shotgun
- A bore cleaning kit specific to your firearm’s gauge
- A rugged cleaning cloth. Avoid paper towels as they tear easily and are more trouble than they’re worth.
- Some CLP to clean, lubricate, and protect your firearm
- A little bit of firearm grease to lubricate the choke tubes
- A brush and pick set for scrubbing and cleaning
- Some long-handled cotton swabs
- A parts tray to corral all the small parts and soak them in CLP
- A small screw driver and a choke tube wrench
Check out the cleaning gear from: Sage & Braker
Step-by-step instructions for cleaning an over/under shotgun
Time needed: 20 minutes
Check out this complete step-by-step guide to cleaning an over and under shotgun with pictures, words, and video.
- Make sure gun is safe
First and foremost, make sure the weapon is unloaded before attempting to clean it.

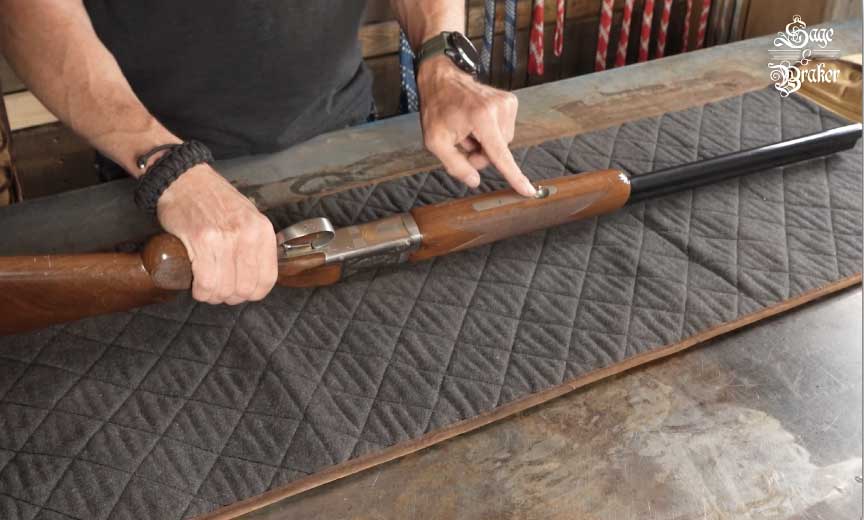
- Remove forend
Remove the forearm by pulling the forend latch lever up and pulling the whole unit away from the rest of the gun.
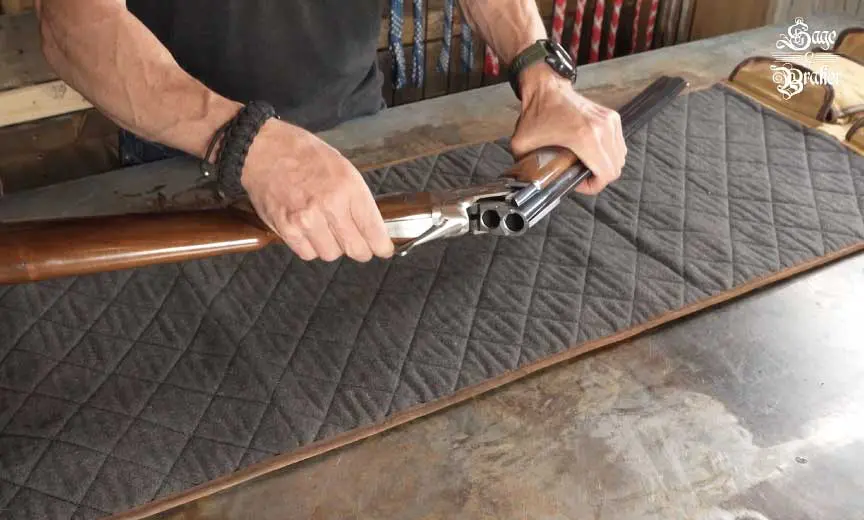
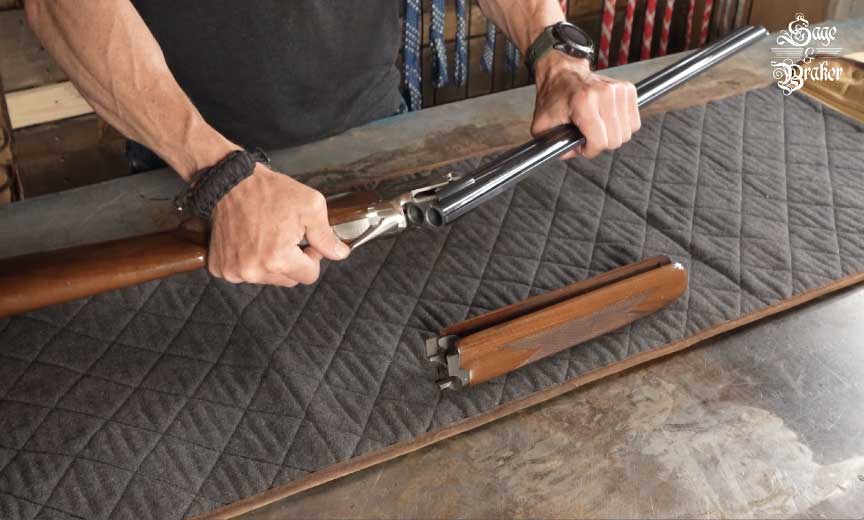
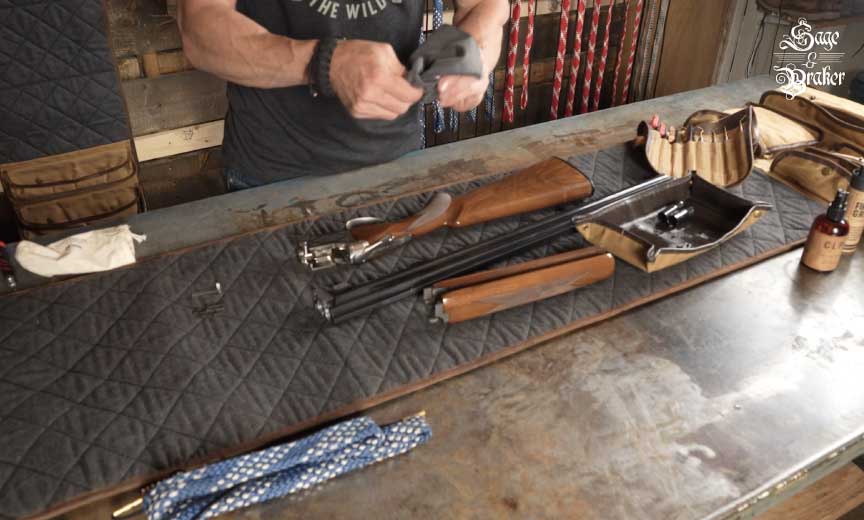
- Separating the action and barrels
Using the top lever to break open the gun, separate the two pieces and set aside.
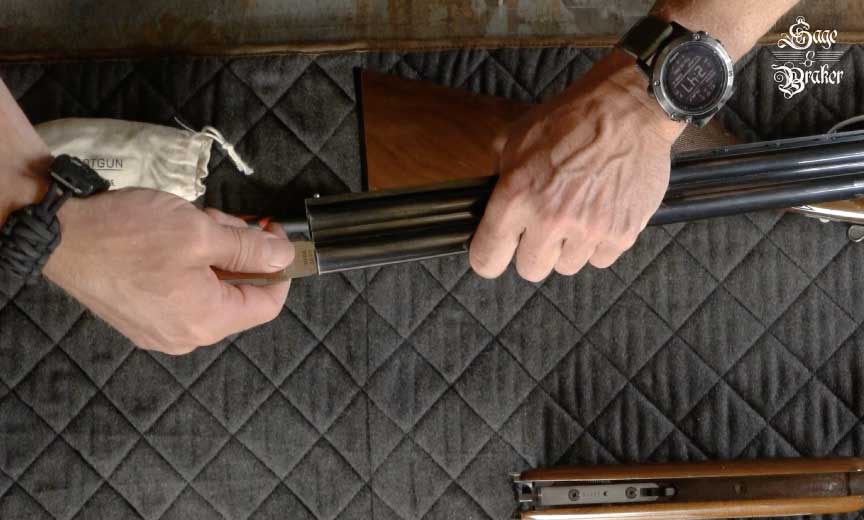
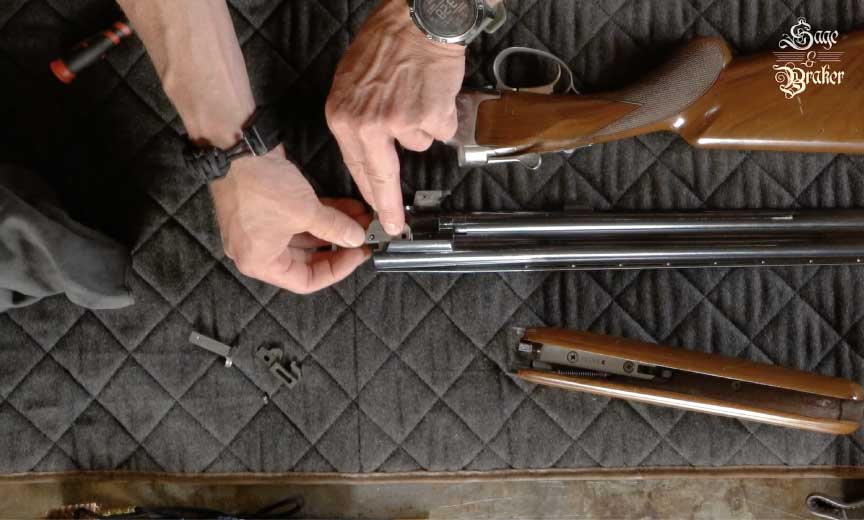
- The extractors
Pull the extractors out. You only need to do this a few times a year, depending on how much you shoot, but we’ll show you how to do it here. If you’re just looking to do a quick cleaning you can skip this part. There’s a caveat, though: over/unders vary on how their extractors are removed. In this example we are using a Browning Citori.
- Spray barrels and metal surfaces with cleaner
Spray CLP down both ends of the bore, as well as coating all of the metal on the outside. Set aside to soak for a bit.

- Clean the bores
Send a bore cleaning kit of the appropriate caliber down the breech end of the bore. You’ll be amazed at the gunk that comes out. Repeat the process for the other bore.
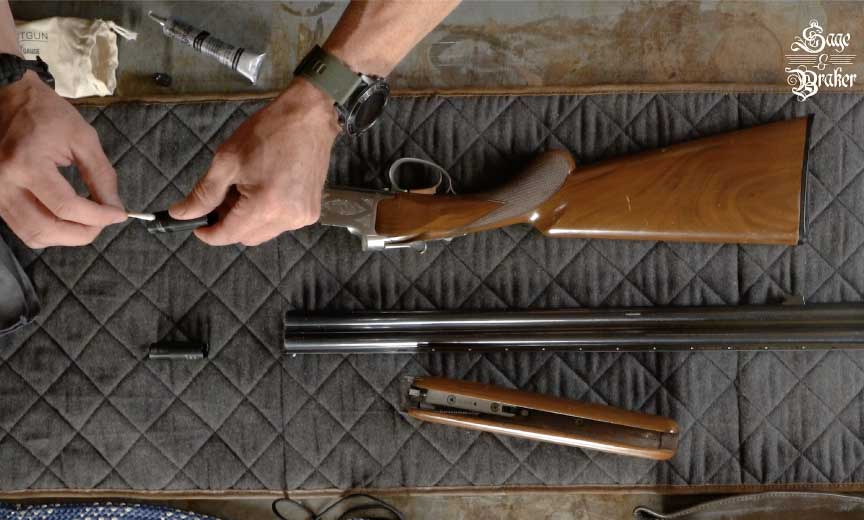
- The chokes
We’re going to take out the choke tubes as well. Use a choke tool to loosen them and then you use your fingers to twist it the rest of the way out.
- Soaking small parts
Place the extractors and chokes in a tray. Now everything in the tray needs a healthy coating of CLP. Make sure to give all the parts a healthy soaking. Set aside for later.
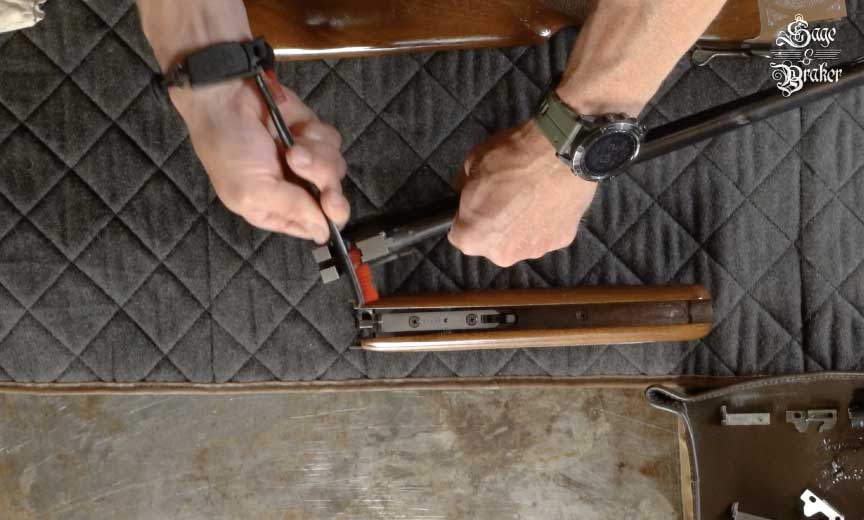
- Brush metal parts
Grab a nylon brush and get to work on the breech end. Pay attention to where the extractors sit. Get in there and break everything loose. Work through all the parts of the breech. Loosen up any carbon and debris you see in there.
- Scrub parts in tray
Now take a bronze phosphorous brush, or nylon if that’s what you have, and scrub all the parts in the tray. Get in there and make sure every surface is scrubbed. You don’t want any gunk left in there that can foul up the extractors. Place the parts aside.
- Clean hard to reach spots
Take some long-handled cotton swabs and get all the hard to reach areas on both parts of the gun.
- Wipe down metal surfaces
Use a rugged cloth and wipe down all metal surfaces of the gun.
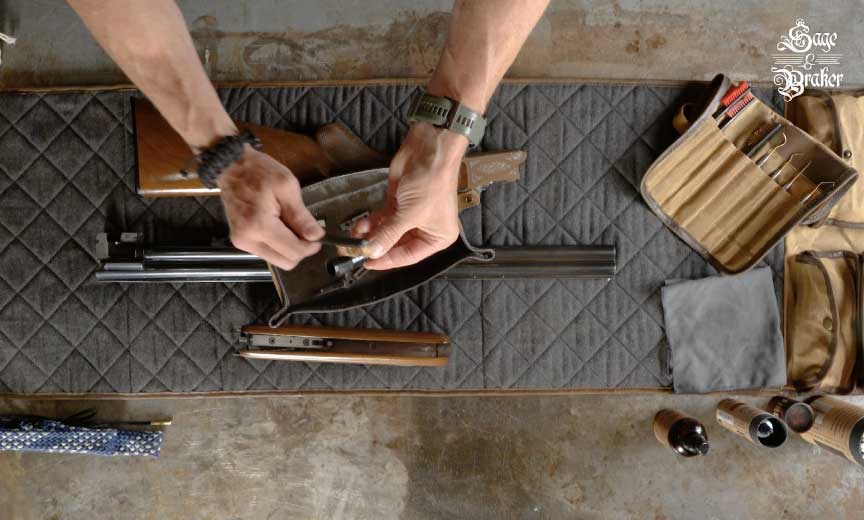
- Reassemble extractors
Give the channel that the extractors sit in a squirt of CLP to properly lubricate them. Now you can reassemble the extractors in the reverse of how you took them apart.
- Clean choke tubes
After the extractors are in, take your bore cleaning kit and pass it through your choke tubes. Start at the threaded end.
- Lubricate choke tubes
Place a little firearm grease on the threads of the choke tubes and use a cotton swab to disperse it throughout the treads. This will prevent them from becoming stuck the next time you go to remove them. Screw them back in by hand and then use your choke tube wrench for the final seating.
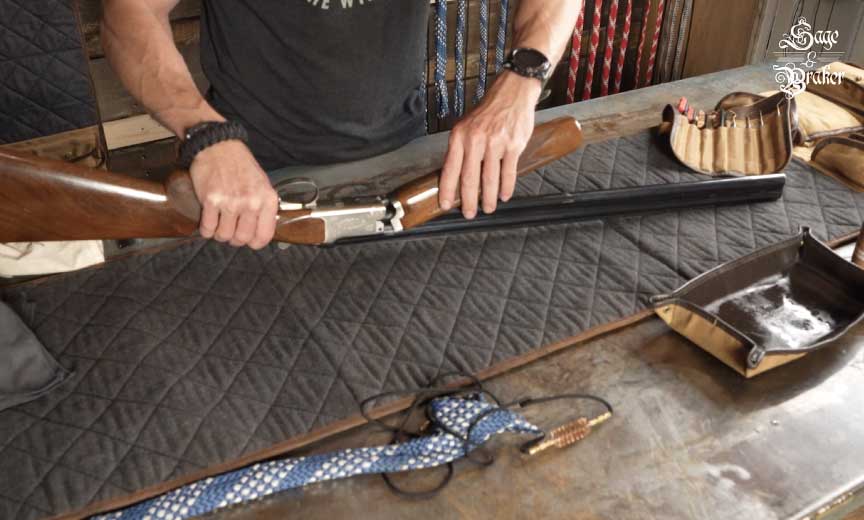
- Reassemble the shotgun
Now for the simple reassembly. Take the barrel and snap it into place on the receiver.
- One final wipe down
Take a cloth to the metal surfaces of the shotgun for a final wipe down from any fingerprints before putting away in your gun safe. Use some more CLP if necessary.