Common Mistakes and Solutions for Plucking Birds
Learn these tips for bird plucking to avoid common mistakes in techniques and methods
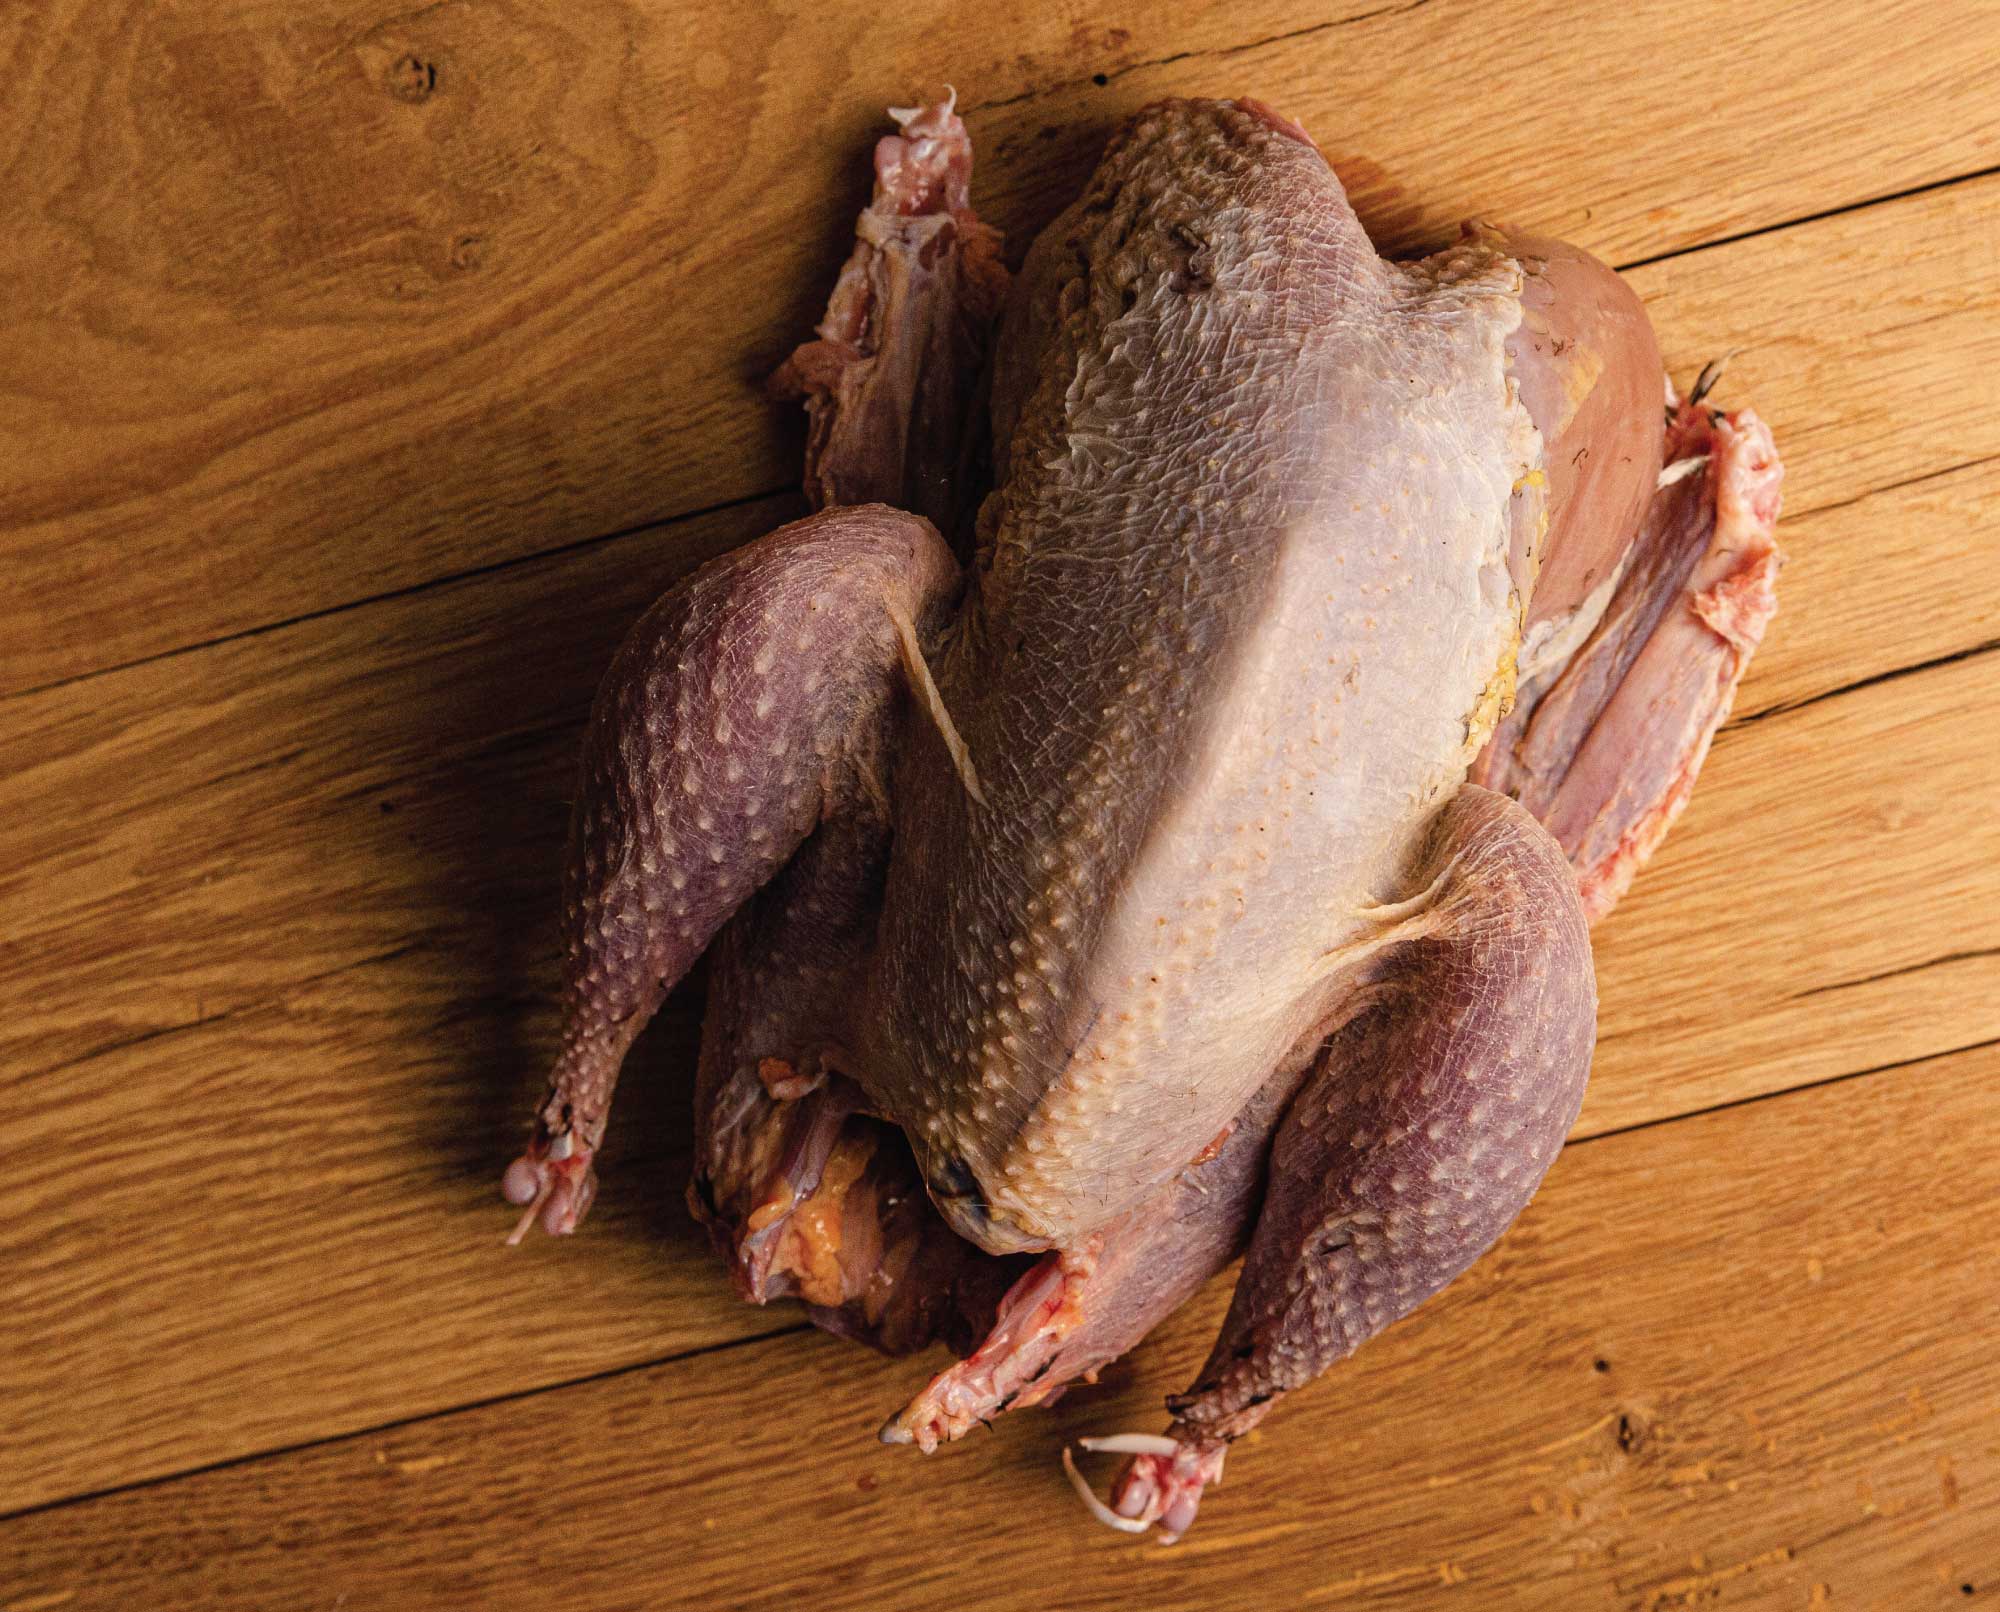
Pluck your game birds whenever possible. Not only does flavor reside in their skin, but keeping the skin on your birds helps retain moisture when cooking. Your birds will taste better and juicier if you make an effort to add this to your bird butchering routine.
I covered how to pluck your birds in an earlier piece. This article will help you avoid and fix mistakes when plucking and cleaning. Mistakes or mishaps simply happen, but how can we correct them and salvage as much skin as possible?
Deciding what Bird Plucking Method to Use
However you decide to pluck your birds, issues may arise. These tips are universal and apply to whatever method you pick, whether dry plucking or using paraffin wax. It is potentially easier to create tears when wet plucking because once you start peeling off patches of paraffin wax, you may be tempted to go faster. That’s when mistakes occur. So, if you’re wet plucking, pay attention and take your time. Dry plucking, due to its nature, basically demands taking your time. There isn’t a fast-forward button when it comes to dry plucking, and I feel that is part of its advantages.
READ: How to Pluck Game Birds, Technique, Time, and Merits
How Long to Wait before Plucking Birds
Some pluckers advise either plucking immediately or waiting a couple of days. As a general rule, I have found that the longer you wait, the more issues you may have. I am thinking mainly of aging bird meat, which concentrates flavor by moisture evaporating over a few to several days. When this moisture evaporates, it softens and weakens the skin. For perspective, if I hang any game bird for seven to ten days, I often have trouble plucking it. The skin is gummy and may easily tear in certain sections. I often have to skin these birds, but the benefits of aging outweigh the cons of no skin.
What Causes the Skin to Tear and How to Avoid Further Tears
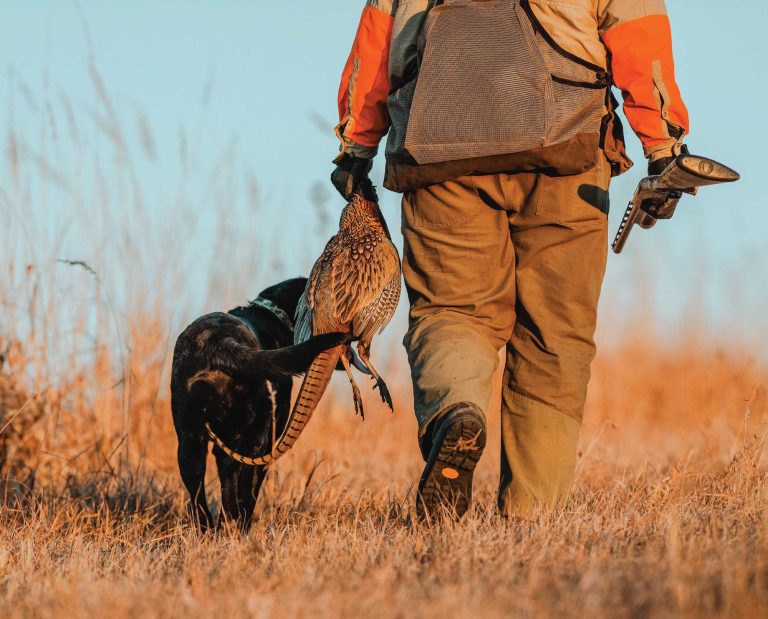
Any initial tear in the skin can lead to further tears. If you shot a bird at close-range with a tight choke, chances are that bird is riddled with holes. You may have some gashes if your dog gets excited and handles the bird with a hard mouth.
You may need to skin those birds if the tears are large and frequent. Pull the feathers toward the tear if you come across a couple of rips. If and when possible, take some sharp kitchen shears and cut off the edges of the skin along the tear. Think of pulling a string on a shirt button versus cutting it. Continuing to pull will just make it worse.
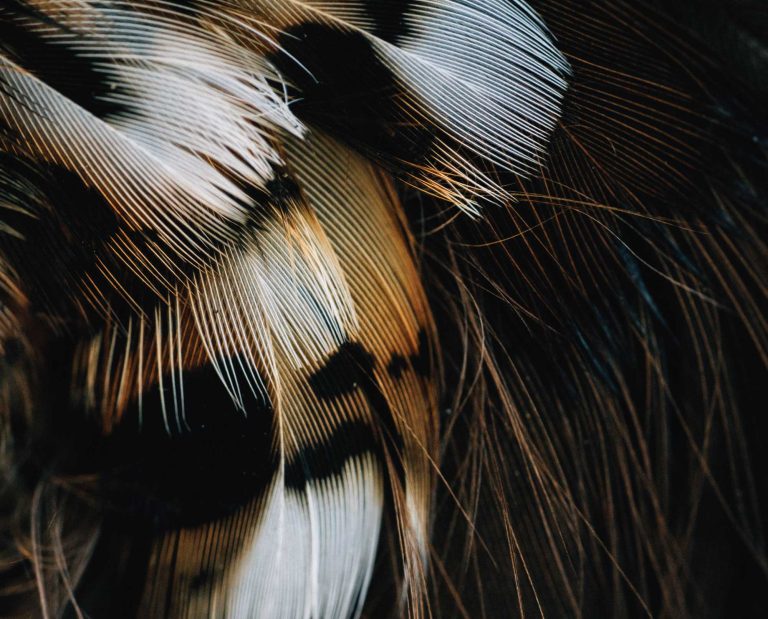
Tears are also more likely with larger feathers and fattier patches of skin. I am mainly thinking of the hackles at the neck’s base and along the breasts’ sides. A line of fat often runs along the sides of the breasts, though this varies based on species and a bird’s diet, and that is where larger feathers also reside. When pulling these, you want to use your off-hand to press down on the skin gently. Gently pull no more than two to three feathers in the direction they are resting, not against the grain. This fattier area is the reason I start plucking birds at the breasts when plucking. My logic: If a severe mistake occurs here, it may be time to skin the bird versus plucking the more manageable parts pristinely, then messing up at the end. Also, starting with the breasts allows me to inspect the bird regarding holes or other tears. If I were to leave the breasts for last and get to the end and find some bird dog had left a gash in it, I wasted time plucking the back, wings, and other areas.
How to best remove hairs and smaller feathers
Yes, there are errant hairs on any bird after you remove its feathers. They’re often wispy and sometimes hard to see. I use a Bic lighter and run a flame about a quarter to half an inch from the skin over the entire bird once or twice. Unlike a torch, you don’t risk burning or searing the skin with a Bic lighter. Plus, you can find these tools at any gas station during an upland road trip. A Bic lighter will also burn off any small feathers, meaning you don’t have to spend as much time nitpicking those tiny ones. They don’t burn off pin feathers, though.
The Reason for and How to Remove Pin Feathers
Pin feathers are developing feathers and resemble the plastic tip on shoelaces. You’ll find them on younger birds, especially earlier in the season. They aren’t often easily removed when plucking, at least not all of them. I have even found a wet bird will retain more pin feathers. Is there an easy way to remove these? Sadly, not to my knowledge, unless you have kids.
Have your kids put their tiny fingers to work to pick out pin feathers. You should remove pin feathers toward the end so you don’t risk your kids pulling out a fistful of feathers and breaking skin. If you don’t have kids and your fingers can manage, you can do it yourself, or you may need tweezers. But, bottom line, you do want to remove them. They’ll affect flavor and texture when cooking.
When and How to Remove the Neck, Wing Tips, and Feet
I wait to the very end, when the bird is plucked (pin feathers picked, hairs singed) to remove the neck, wing tips, and feet. I put the bird on a cutting board or another safe cutting surface and stretch out the neck. Then, I use my pocket knife to press down on the base of the neck. The knife’s edge sits between the neck bones. I continue to pull until the neck comes off. I gently roll both the wing tips and feet at the joint, gently gripping the side of the bird with meat and skin. Once I can cut off the wing tip or foot, I do so with my pocket knife.
How to Finish and Properly Clean your Game Birds
After you’ve got yourself a pristinely plucked bird, you want a clean bird. I bring my birds into the kitchen and set them next to the sink. Under the faucet, I place a large colander where the innards may drop. I use my pocket knife and a set of sharp kitchen shears during this process.
I start by taking a finger and gently inserting it into the bird’s crop (the bubble of skin above the breasts and wishbone and below the neck). I work my finger around and rinse this out under cold running water, should there be any bits of food left over. Next, I move to the bottom of the bird.
The following method is inspired by how I clean deer, using the logic that I want zero feces touching my meat. Using my pocket knife, I cut a line at the base and center of the breast bone, where the bone and the soft patch of skin meet near the bottom of the bird. After that, using kitchen shears, I will cut an egg shape patch of skin from that top incision, around the “exit holes,” to the tail. I avoid cutting into the bones of the thighs, though I may cut off the tail in this process for a wider exit route where the innards may drop.
Handling the bird over the colander and under cold running water, I reach up into the bird with two fingers and pull out the guts. I do this in a few phases. First, I remove the guts. Then, I remove the gizzard. Lastly, I take out the heart. After this, I ensure to rinse the bird’s cavity thoroughly. Don’t forget about the lungs. Those bright pink or red jelly-bean-like innards sit against either side of the spine. You may need to get aggressive after removing all other innards with a finger or two to scrape the lungs out. Continue to rinse, both from the bottom and from the top, via the neck. Pat dry and set aside. Place your bird in the fridge after ample pat drying to completely dry and cool the bird before vacuum sealing it or taking the next steps to cook it.