Teaching Your Dog To Heel
A guide to teaching a dog the heel command from training methods to correction.
Hiking down to a tidal marsh hosting a flock of resting geese, my friend was “heeling” his extremely large and willful Pudelpointer down a wooded clammer’s trail. It was going pretty well until the dog heard a honk and noticed geese in the nearby eelgrass. The Pudelpointer jerked about wildly, attempting to get to the geese. It was amazing that my friend was able to remain attached to the dog.
Things literally started going downhill on his first hard leash correction. Just like Superman, it sent him airborne. Unbelievably, he found a way to land on his feet and started down the muddy trail as if he was on a snowboard. Eventually, he ended up at the bottom, where he hydroplaned across the mud flats.
All hope was lost. He knew he had to relinquish the leash and free the dog. Unfortunately, it was looped around his wrist, sending him into a helicopter spin. He starfished into the frigid flats.
Steam rolled off his mud-soaked shoulders. Red in the face from what I assumed was embarrassment and rage, he lifted his shotgun from the viscous salt flat. Eventually, our eyes met, at which point I saw his grimace evolve into a smirk. Then a giggle. Then a full-on belly laugh erupted from his diaphragm.
I helped un-suck his legs from the mud. As we hurried our way back to the warm truck, honking geese seemingly enjoyed watching our shenanigans as they flew out of range. This was one of the funniest moments I’ve shared hunting. My friend now understands the importance of a good heel. His situation can be avoided with a little effort and a lot of consistency.
When to Begin Teaching Your Dog to Heel
Getting a willful, prey-driven hunting dog to heel can be difficult at first. It is one of the most common reasons a handler loses their prize one in the NAVHDA testing system. It’s also one of the reasons owners avoid stimulating environments while walking their dog.
The drive within our hunting dogs is the putty from which we play. Because heeling is a drive-based activity, drive can be a benefit or a detriment when it comes to heeling. If done properly, the dog is driven to find its position and its focus is entirely on you. When underdeveloped, the dog prioritizes its natural instincts to lead, protect, and search, resulting in an unsafe and uncontrollable heeling experience.
Some trainers wait to introduce the heel until after the pup demonstrates enough drive in the field to hunt and search. Their concern is that it places too much pressure on the pup, potentially stealing from its hunt in the field. Pete Aplikowski, a NAVHDA Judge and one of the group trainers for the Minnesota Chapter of NAVHDA explains,
“Heeling is the simplest obedience drill you can teach a dog. You have a direct connection to the dog with a leash. I am not big on formal heeling until after the Natural Ability test, or for sure at least until a dog has proven his field search. Good citizen basic leash manner is OK, of course; you have to be able to control and live with the dog. I start with heeling in my obedience classes because it really gets people to understand how important timing of verbal and physical corrections is, and bringing dogs back with praise. Also getting them to understand how important the ‘release’ command is. That carries over to ‘whoa’ and ‘fetch.’”
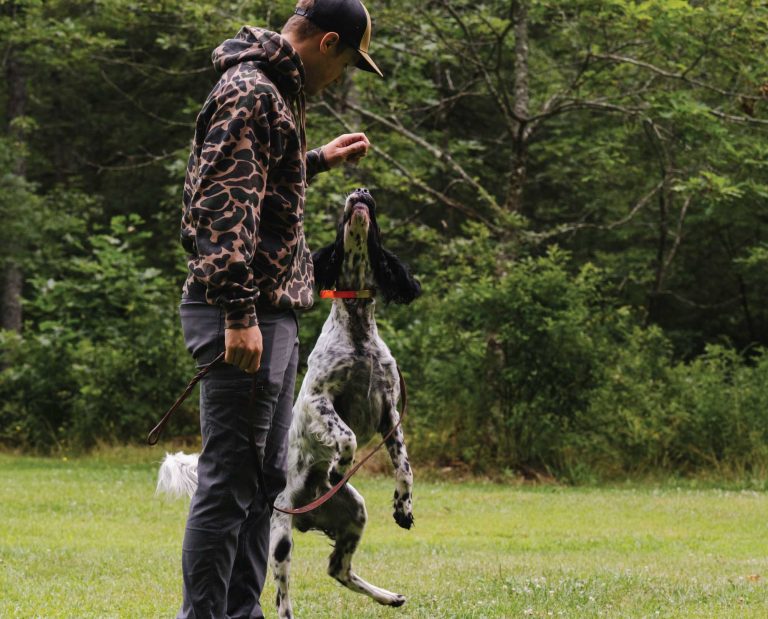
For me, heeling starts the moment your pup gets home. It’s a zero-pressure, rewarding activity that creates a positive training foundation for your pup. Misi Knutson, breeder and trainer at Merrymeeting Kennels, explains her early leash work development program,
“Heel is one of the first commands I use at eight weeks. I leverage meal times to train at this age. For heel, I start indoors in my home. Off leash, I walk around my house with their food in hand. Every time the pup comes by and walks with me, I reward them and keep moving. At first, this was very short. Over time with consistency, they will heel for longer periods of time. I ignore the jumping and darting and reward the desired behavior. Once the pup shows comprehension, I apply the command. I then progress to add the leash. Your home is a great place to train. Kitchen islands, hallway walls, and staircases help to further define where you want the pup to heel.”
Follow the philosophy of encouraging the good and ignoring the bad for the time being. Never pressure a young puppy as we are building a foundation of trust and drive.
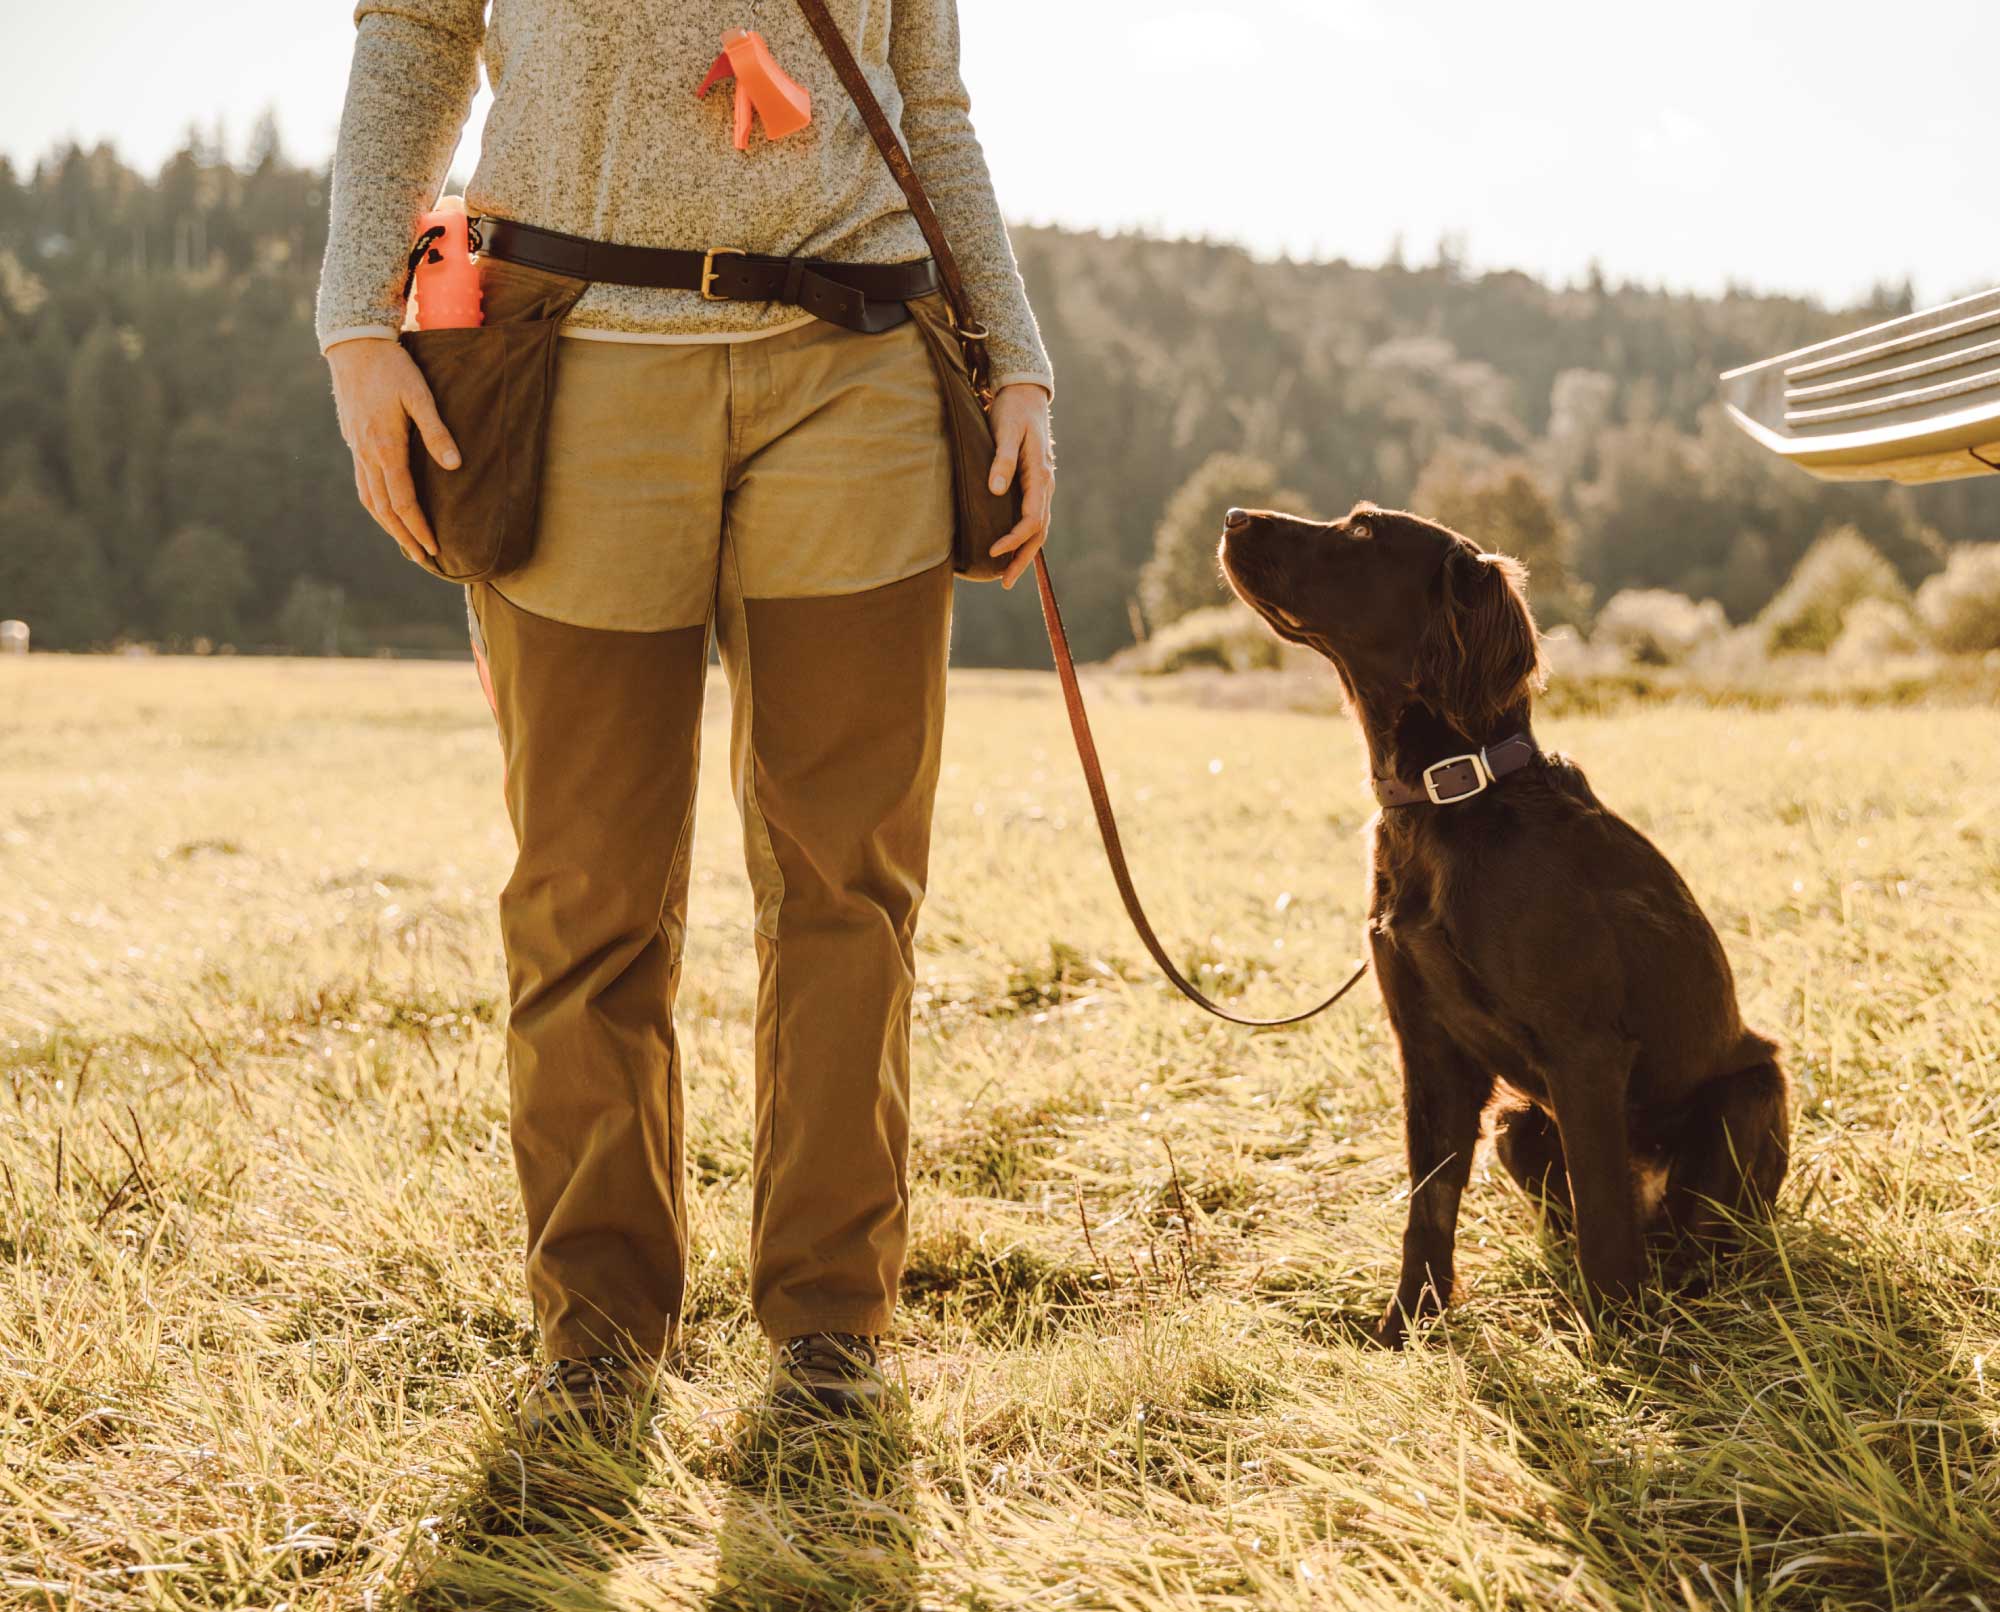
How Your Dog Should Be Heeling
A focused heel is a culmination of many hours of work for the lifetime of the dog. A proficient heeling dog has an attitude that is bold and confident. It knows to be accurate in its movements while giving you all of its attention.
A focused heel occurs when the dog locks in on your eyes, follows you in any direction, aligns its feet with yours, and sits each time you stop. It knows how to swing its back end into position, make tight turns when you switch directions towards it, and speed up to keep its positioning when you turn away. The dog should also know what side to heel on. Ideally, it’s your non-gun-carrying side. The dog maintains this position at any speed. It never lunges ahead, lags behind, or moves off to the side.
If you find that your dog spins in circles to align its heel, it usually means the dog hasn’t learned to control its back end. I like to teach both reverse heeling and bucket turns in this situation.
Reverse heeling entails taking a treat up and over the dog’s head and moving it slightly back until the dog begins to move in reverse. The dog will attempt to maintain eye contact with the treat by backing up. Using a fence row or hallway wall encourages it to back up without spinning. Place the heel command to it and you have a dog that can reverse heel.
Bucket turns teach the dog to swing its back end in and out. You’ll need a bucket that’s large enough for the front feet, but small enough that the dog can’t get all four feet on it. To teach this, encourage the dog to step up on the bucket with its front feet. Reward it with a treat when it does. Once the dog understands standing on the bucket means treats, encourage it to swing around the bucket using the heel command. Initially, a leash should be attached to the dog and held relatively short (but not tight) as you want to keep the front end on the bucket. In time, the dog learns to swing in on the heel command and has the control to maneuver into place with proper spine alignment.
This standard of heeling is only attainable if the drive to heel is stronger than the drive to follow distraction. If you’re thinking this is a tall order, you’re not alone. Too often we give up and accept the body length lead before giving the heel enough time to develop. In doing so, you place the dog in a leadership role; that permeates into other parts of your training program.
Keep a Loose Leash When Teaching “Heel”
The biggest mistake you can make when teaching “heel” is allowing the leash to go tight. A tight leash empowers your dog to be the leader and decision maker. However, when the lead is loose, your dog requires verbal and visual cues from you to navigate. It pays close attention to how you move. From how you shift your weight, move your arms, flex your knees, and even change your facial cues, these things all provide the dog with the information it seeks. A loose lead keeps them connected to you and allows thinking and learning to happen.
Using Bait (Treats) to Teach “Heel”
Personally, I’ve had success using bait in my heeling process. At first, the dog heels for short distances and is provided many treats. As the dog gets older and more proficient, I fade out the bait and replace it with verbal and physical reward (as long as the dog remains consistent). However, I am never opposed to revisiting bait for remedial work in my training process.
READ: Should You Use Dog Treats in Dog Training?
When using bait for heel work, it’s important to understand the proper reward delivery point. To draw a young pup into the heel position, I place the bait in my hand and allow the pup to chase, lick, and nibble it as we move. My hand is positioned at the side of my leg, never ahead or in front as it will encourage the pup to lunge ahead. For little pups, I include a training table which brings the pup up to an easier baiting position. Once the pup understands how to follow the bait, I will start denying them the bait when out of position. I will only make it available when they are correctly heeling. My bait bag is always on the dog side (non-gun side) of my body. Eventually, my bait hand moves closer and closer to my bait bag, dependent that the pup understands it’s still available pending good heeling. In the end, I am able to heel either on lead or off with my hands clasped together at my chest with our eyes locked on one another.
Your interval for providing bait is super important. Young pups need continual reinforcement whereas a finished dog needs intermittent reinforcement.
If you find that you are struggling to maintain your dog’s focus, it could mean the reinforcement interval is too long or your bait has lost its potency. Try training before meals when your dog is hungry. Alternatively, use your training to feed your dog entire meals. Also, switch up treats now and again to keep the lesson exciting to the dog. Also, try providing more lessons, though make them shorter in duration preventing boredom.
Tools to Bring Your Dog Back To Earth
In training, we show our dogs that with good heeling comes great reward. Eventually, there will come a time where the liver treat simply can’t compete with a resting flock of geese on the tidal marsh. It’s in these scenarios our leadership comes into play. We need to have the respect and obedience within our dog to overpower the urge to chase and catch.
For some dogs, a harsh verbal command brings them back to earth. Others require a strong verbal and leash correction to get them thinking again. Ones like my friend’s Pudelpointer who completely lose their mind when in the presence of game require some operational assistance. For these dogs, there are many great devices out there to reel them in. However, none of them work without a consistent training regiment.
The prong and pinch collars have been successfully utilized for years. At first glance, these collars may look unfair to the dog. In understanding their function, you learn that the dog provides its own level of pressure. The harder the pull, the stronger the correction. In very little time, the dog learns to control its emotion and in turn its own correction level. The dog returns to a calm state where it can again think and be influenced. The collar I prefer is the Herm Sprenger Neck-Tech Sport Stainless Steel Collar with ClicLock Buckle as it seems to provide the perfect level of correction I need for over driven or out of balance dogs.
Other common tools include heeling sticks and heeling whips. These tools are not designed to hurt the dog; rather, they’re an intimidation tool. These help gain the dog’s respect so that it learns to remain in its heeling position.
As in all training, we should always train to the character of the dog. Not all tools and techniques are appropriate for all dogs. The use of punishment alone maintains a behavior only as long as the punishment remains available. If your e-collar dies, eventually, so do compliant behaviors. It’s important to utilize a variety of heeling approaches and techniques when training.
Proofing Your Dog’s Heel
Proofing your training is always the last step of developing a good hunting dog. It’s important to train in distracting environments to solidify your dog’s learning and identify any holes that might be in your training. When proofing my heeling, I like to work my dog’s heeling in as many stimulating community environments as I can. This includes the dog park, Home Depot, group training class, or the local duck pond. I want my dog to heel regardless of distractions.
Good heeling comes as the result of your persistence as a trainer. Through putting in the work, having the determination to provide strong guidelines and limitations, and not taking shortcuts, you will teach your dog to heel anywhere, around anyone, and in any situation. Your dog will be driven to have you take it for a walk; not the other way around. You’ll enjoy your time with it and, most importantly, “heel” will be an invaluable tool in the field.

Excellent podcast and info. Thanks.