

How to Pluck Game Birds, Technique, Time, and Merits
To pluck or not to pluck? Learn how to decide when a bird is worth the extra effort
Let’s start with the obvious question: is plucking worth the time?
The answer likely depends on what kind of hunter you are. So, let’s evaluate: do seek out and invest in the best gear? Do you believe a well-trained or “finished” hunting dog improves the experience afield? If you answered “yes” to either, then it’s clear to me: plucking is worth your time, because settling for less doesn’t suit you.
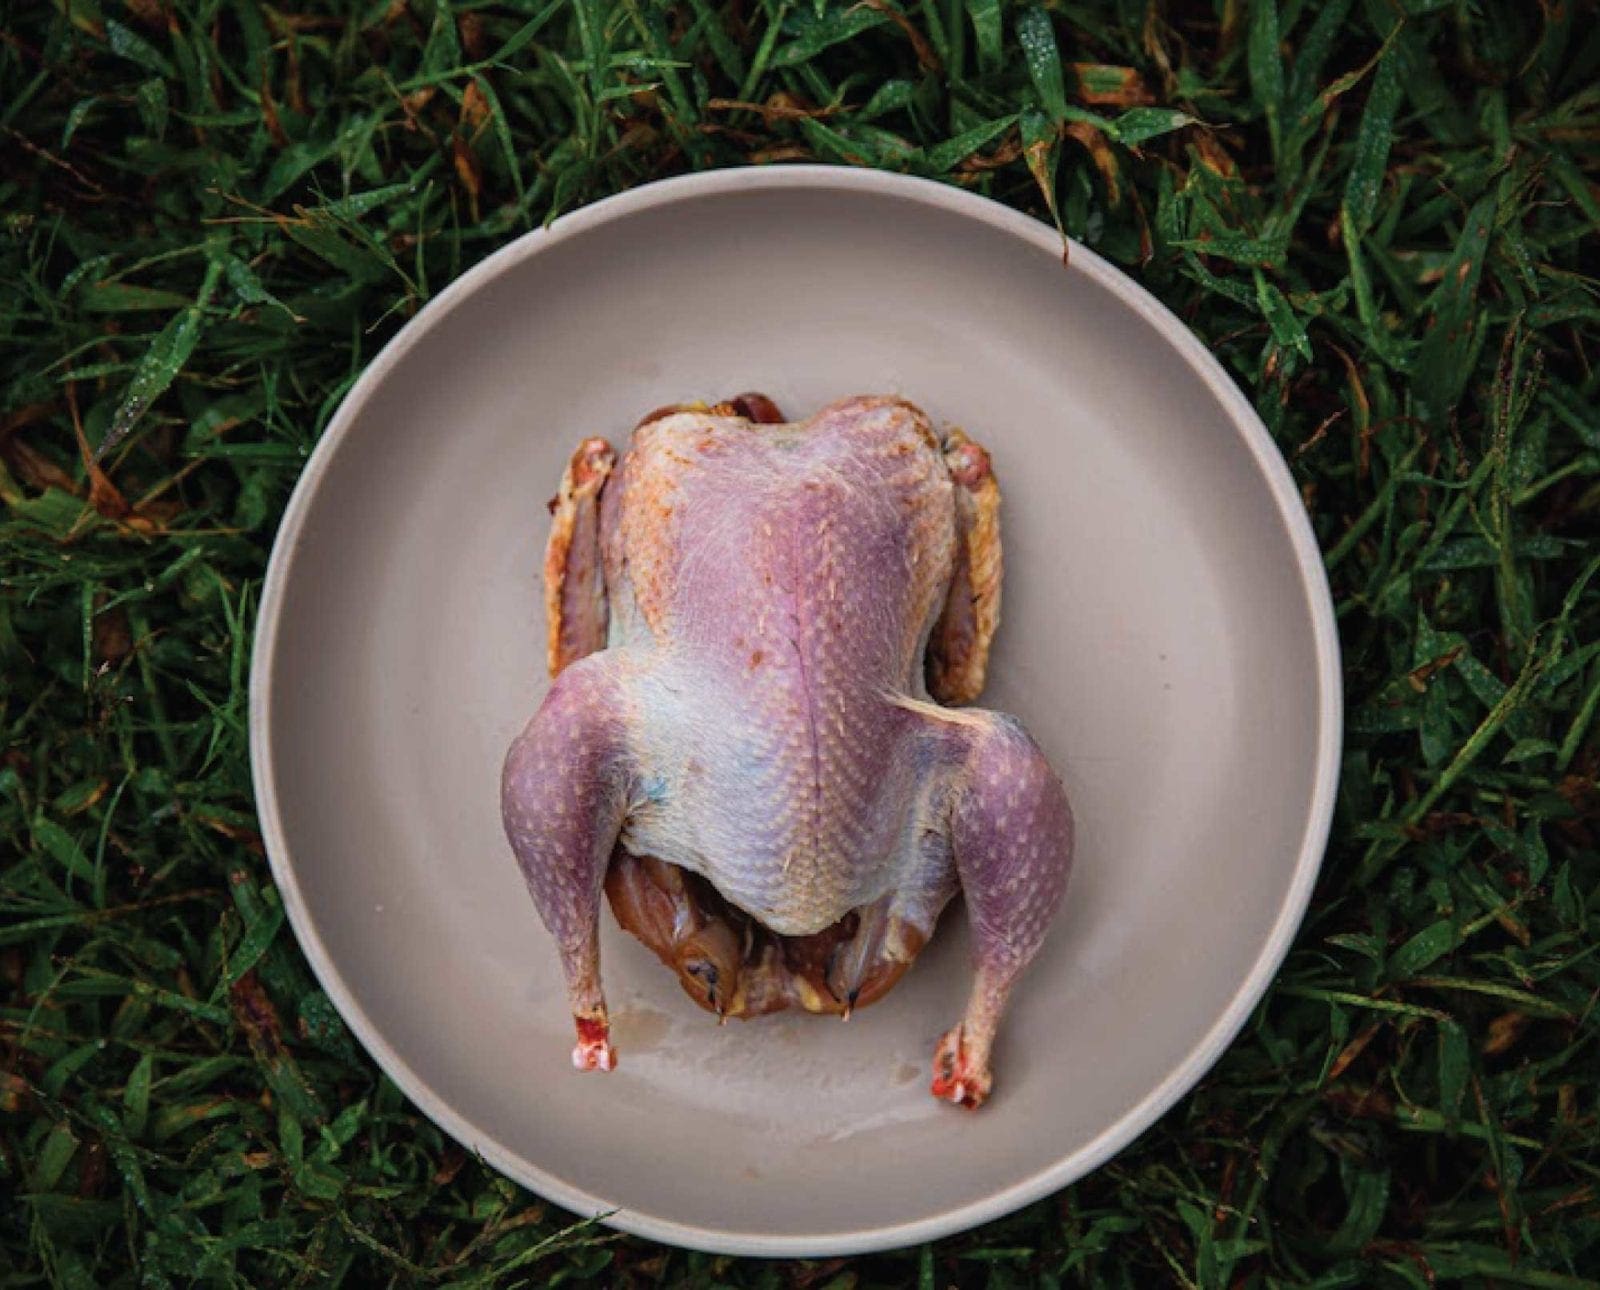
Why pluck, exactly? Flavor resides in that skin. Aside from flavor, a plucked bird will retain more moisture and be far less likely to dry out compared to a skinned bird. So, if you’re the type of hunter who believes that you get what you put into it—versus grabbing the first box of shells you find on the shelf or picking a gun dog bloodline from a game of “eeny, meeny, miny, moe”—you owe it to yourself to at least attempt to give a pluck (hashtag now trending thanks to Hank Shaw).
The Time Investment
This is the biggest excuse: “I don’t have time.” Maybe you don’t, though some would argue it’s not about having time, but rather making time. Once you get decent at plucking, each bird might take you 20 minutes at most. In my state of Kansas, our limit for pheasant is four cocks. That’s a maximum of 1 hour and 20 minutes of time required to get a fantastic finished product. Doves and quail take substantially less time, and that works well since their daily limits are higher.
Bottom line: You can carve out the time. Spend less time sipping that beer—chug then pluck. Or listen to the ball game on the radio as opposed to watching on TV. Get an hour less sleep. Whatever it takes. If you decide the flavor and crisp skin that come along with a job well done aren’t worth your time, then at least you tried.
When Not to Pluck Your Game Bird
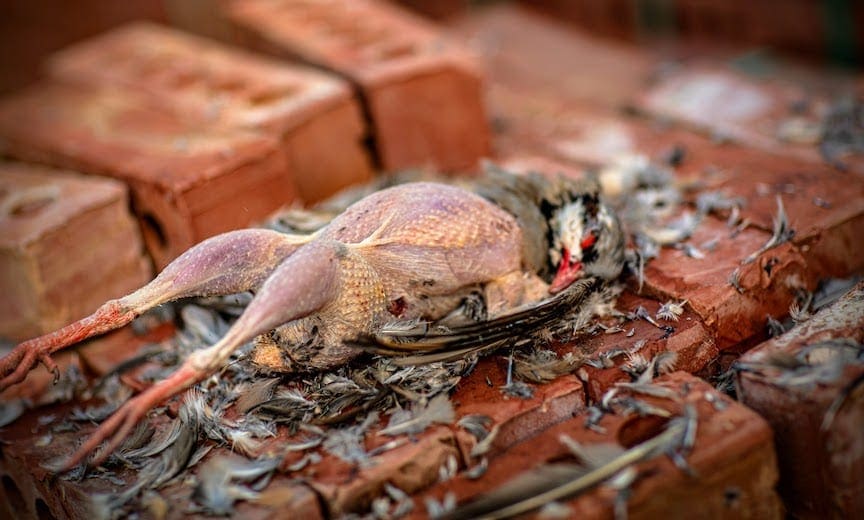
The biggest obstacle to a perfectly plucked bird are tears in the skin. With holes or rips in the skin, the skin is more likely to rip further when you pull at the feathers. This happens when a bird has been shot up pretty badly (I call those birds “hamburger”) or if a bird dog happens to have a hard mouth (and thus leaves gaping teeth marks in meat). For this same reason, you’ll also want to wait to gut your birds until after plucking. Basically, if you find that a bird’s skin is pretty beat up and tears badly when you try to pluck, it might be time to skin.
How to Pluck Game Birds
I’m a dry plucker, through and through. Other methods exist, such as dipping birds in paraffin wax or scalding birds prior to plucking, but I can’t typically do those things afield since they require a few more items beyond my hands and a pocket knife. Finally, and most importantly, I’m only allowed to make messes outside and not inside, according to my wife.
When dry plucking, the keyword is obviously “dry.” If you attempt to age your birds or leave out in the cold or in the fridge overnight, the skin will moisten and become gummy. Plucking is absolutely still possible, but will require greater care. The methods below can generally be applied to all upland birds, but exceptions are noted.
To get started, I first target the hackles—the pretty, larger feathers around the collar of the bird. I press a couple fingers or my thumb against the skin with my left (non-dominant) hand, then gently pull down with my right hand—NOT UP, against the grain. I’m far less likely to start off with a tear this way. I pull most of the hackles before moving on to the breast feathers.
When it comes to breast feathers, you can go against the grain for doves and waterfowl, but I gently pull down with the grain for thinner-skinned birds like grouse, chukar, and quail. For larger pheasant, you might be able to run your thumb and index finger against the grain and pluck up (which is faster), but the bottom line is that if you’re worried about ripping skin, take the path of least resistance. Note that for wild turkey, you can most likely treat like waterfowl—pluck against the grain—as their skin is tougher.
Next, I gently grab hold of the bend in a wing (first joint outward from the armpit) with my left hand and slowly spin the bird as I continue to pluck around the wing’s pit, the shoulder, the back, and along the wing itself. For whatever reason, it reminds me of giving my kid a bath and doing a little pirouette in the tub while I scrub under the armpits. I place the bird back down when pulling out larger wing feathers and then the tiny feathers along the wing and near the tip. I repeat the process on the other wing until the wings are plucked to the wing tip.
After the wings, I hold the bird by the leg joint (between the thigh and leg), upside-down, and follow a similar process: slowly spin bird as I nitpick feathers.
The back and tail are my final priorities. If spatchcocking (cutting out the spine) the bird, I don’t worry as much about intensely plucking the back. While I try to pull most of the tail feathers, I may end up cutting off the tail to eliminate any persnickety tail feathers.
Finishing the Plucking Job
Some folks use the notch on kitchen shears for this next part, but I simply pull out a sharp pocket knife. For the wings, I take hold of the joint closest to the wing tip and gently rotate to loosen then cut the tendons and meat to remove the tip. I do basically the same thing for the legs: rotate until the joint loosens (likely cracks), then cut the tendons completely with my knife, tossing both wing tips and legs. You want to hold as close to the joint as possible, as opposed to the thigh itself, because doing so may mangle the meat as you twist the joint.
The goal here is no broken bones and therefore no sharp edges that will poke someone’s mouth when eating or poke holes in whatever storage or freezer material in which you wrap or vacuum-seal the bird.
Next, I stretch out the neck and find a joint where I can insert my knife and cleanly cut off the neck. I pluck any errant feathers before moving onto the sink.
Over a colander in my kitchen sink, I open the bird below the sternum and remove the giblets (save whatever you wish—liver, gizzard, heart). Make sure to nab the lungs, too (don’t eat those), and thoroughly rinse inside and outside of the bird with cold water, again nitpicking any obstinate feathers.
Yes, there may be pin feathers or what look like hairs left on the skin. Some folks take a blow torch to quickly (and carefully) singe those off. I don’t bother with that. I rarely notice those things after cooking a crispy-skin bird and can’t say I have ever notice a flavor difference.
I hope some of this helps and thanks for #GivingAPluck. Reach out to me on Instagram (@WildGameJack) with any questions or comments and be sure to check out my other wild game recipes and cooking instructions here.
Since I could first enter the field, we plucked every bird we shot. I didn’t even realize there were other options until I got out of elementary school. When I asked my old man he always would tell me that it was just what he liked to do and what he grew up doing. Personally I think it completes the hunting experience since recapping the hunt and telling stories while plucking is how we conclude every hunt.
Insert Harrison quote here.
I have plugged in aged my birds and wondering, can I freeze them or should I brine them and then freeze them?